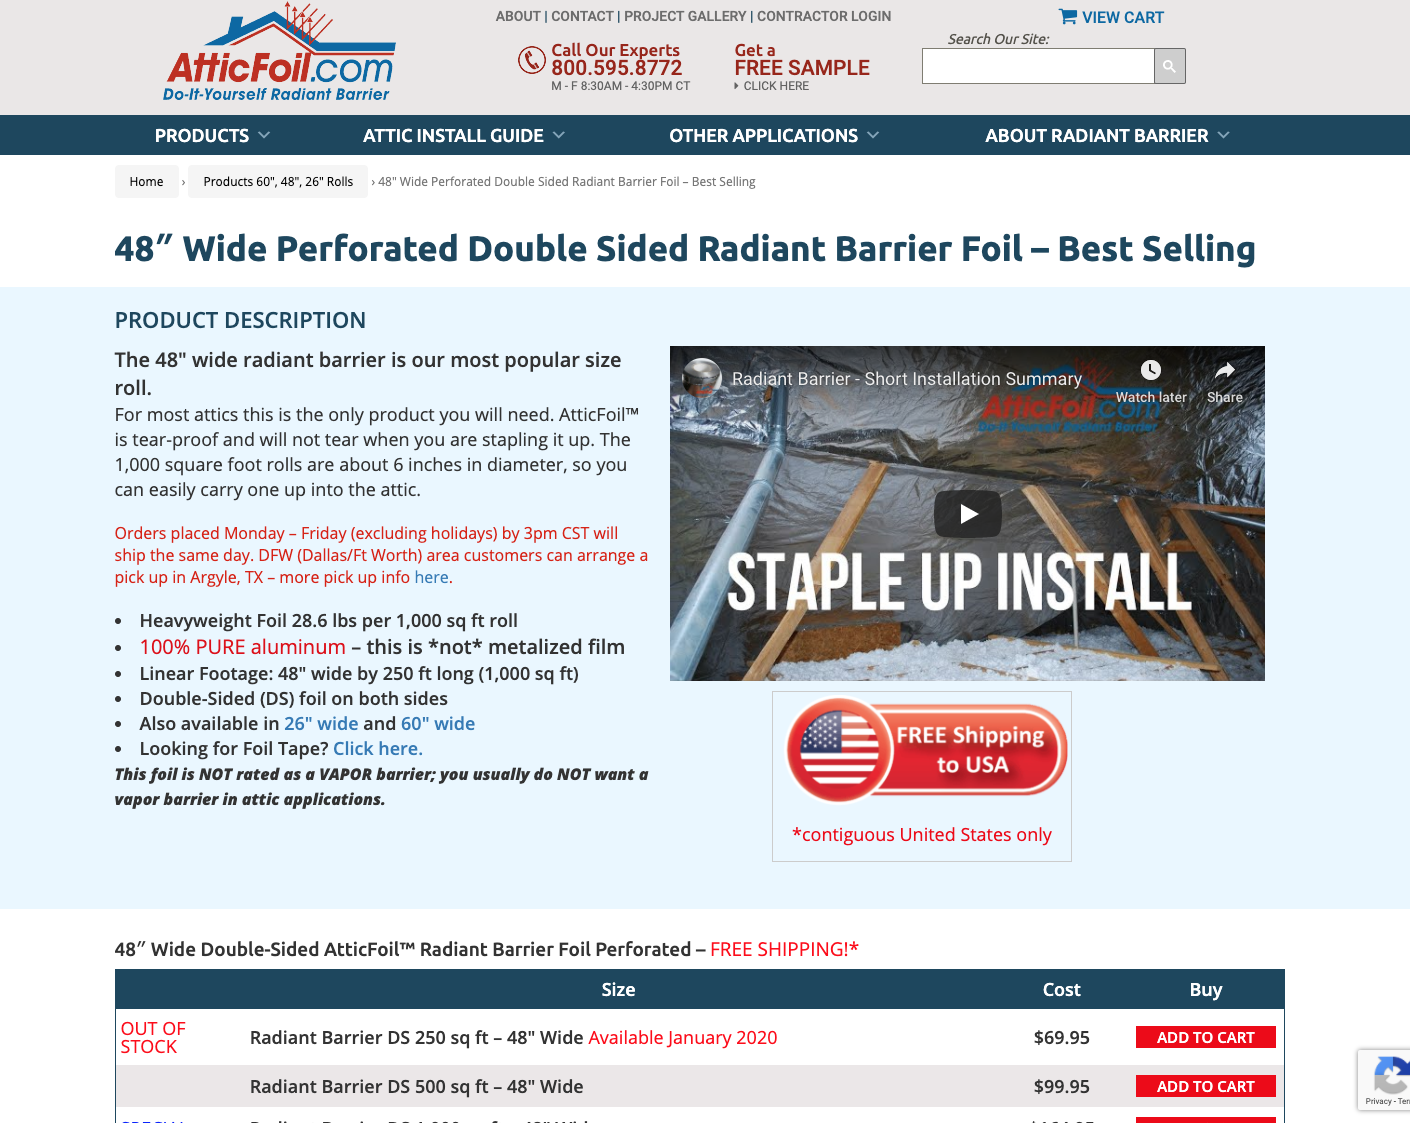
Radiant Barrier Foil Insulation

Disto D5 Laser Measure - $419.00 with no tax/shipping

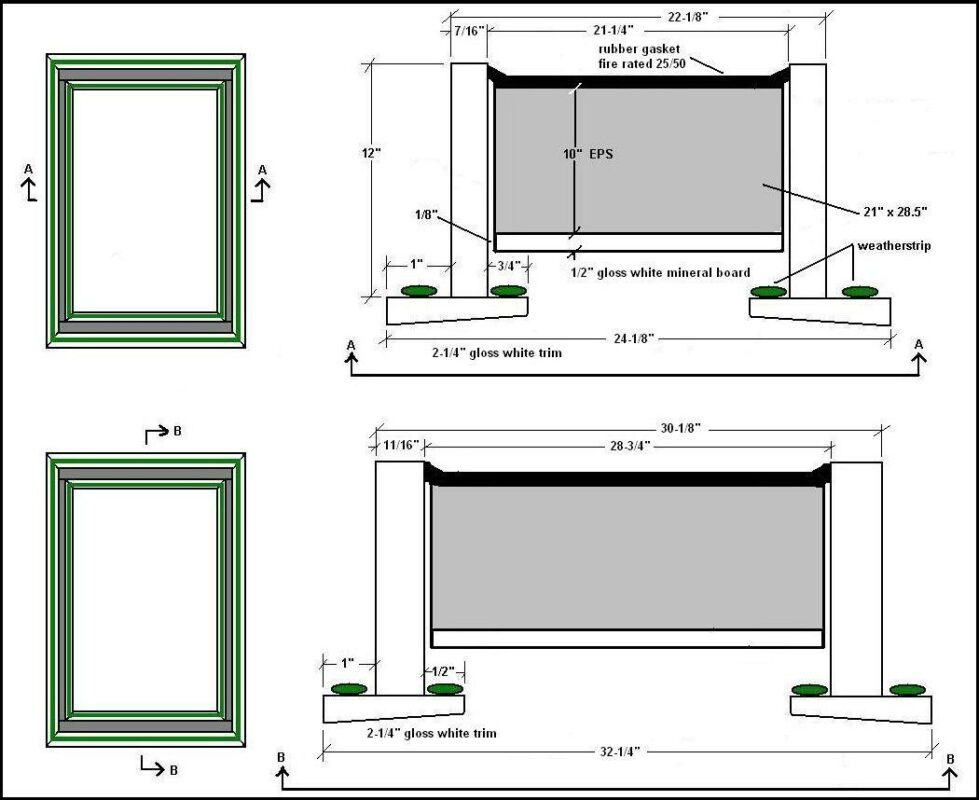
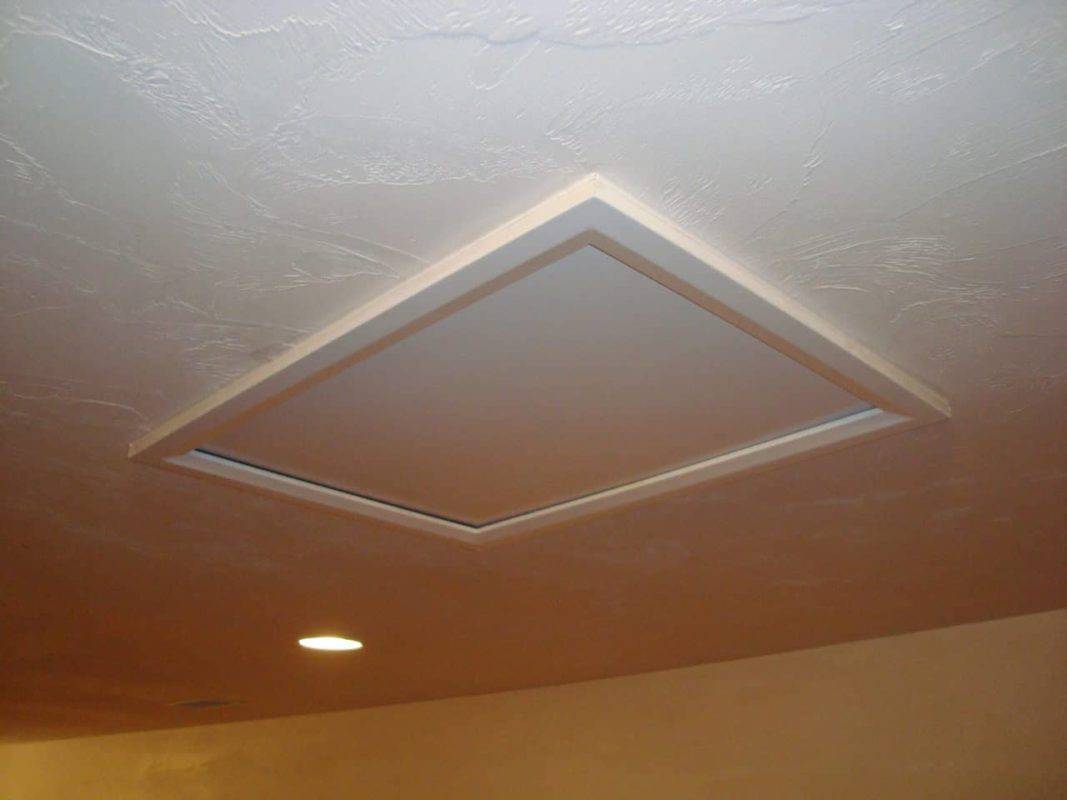
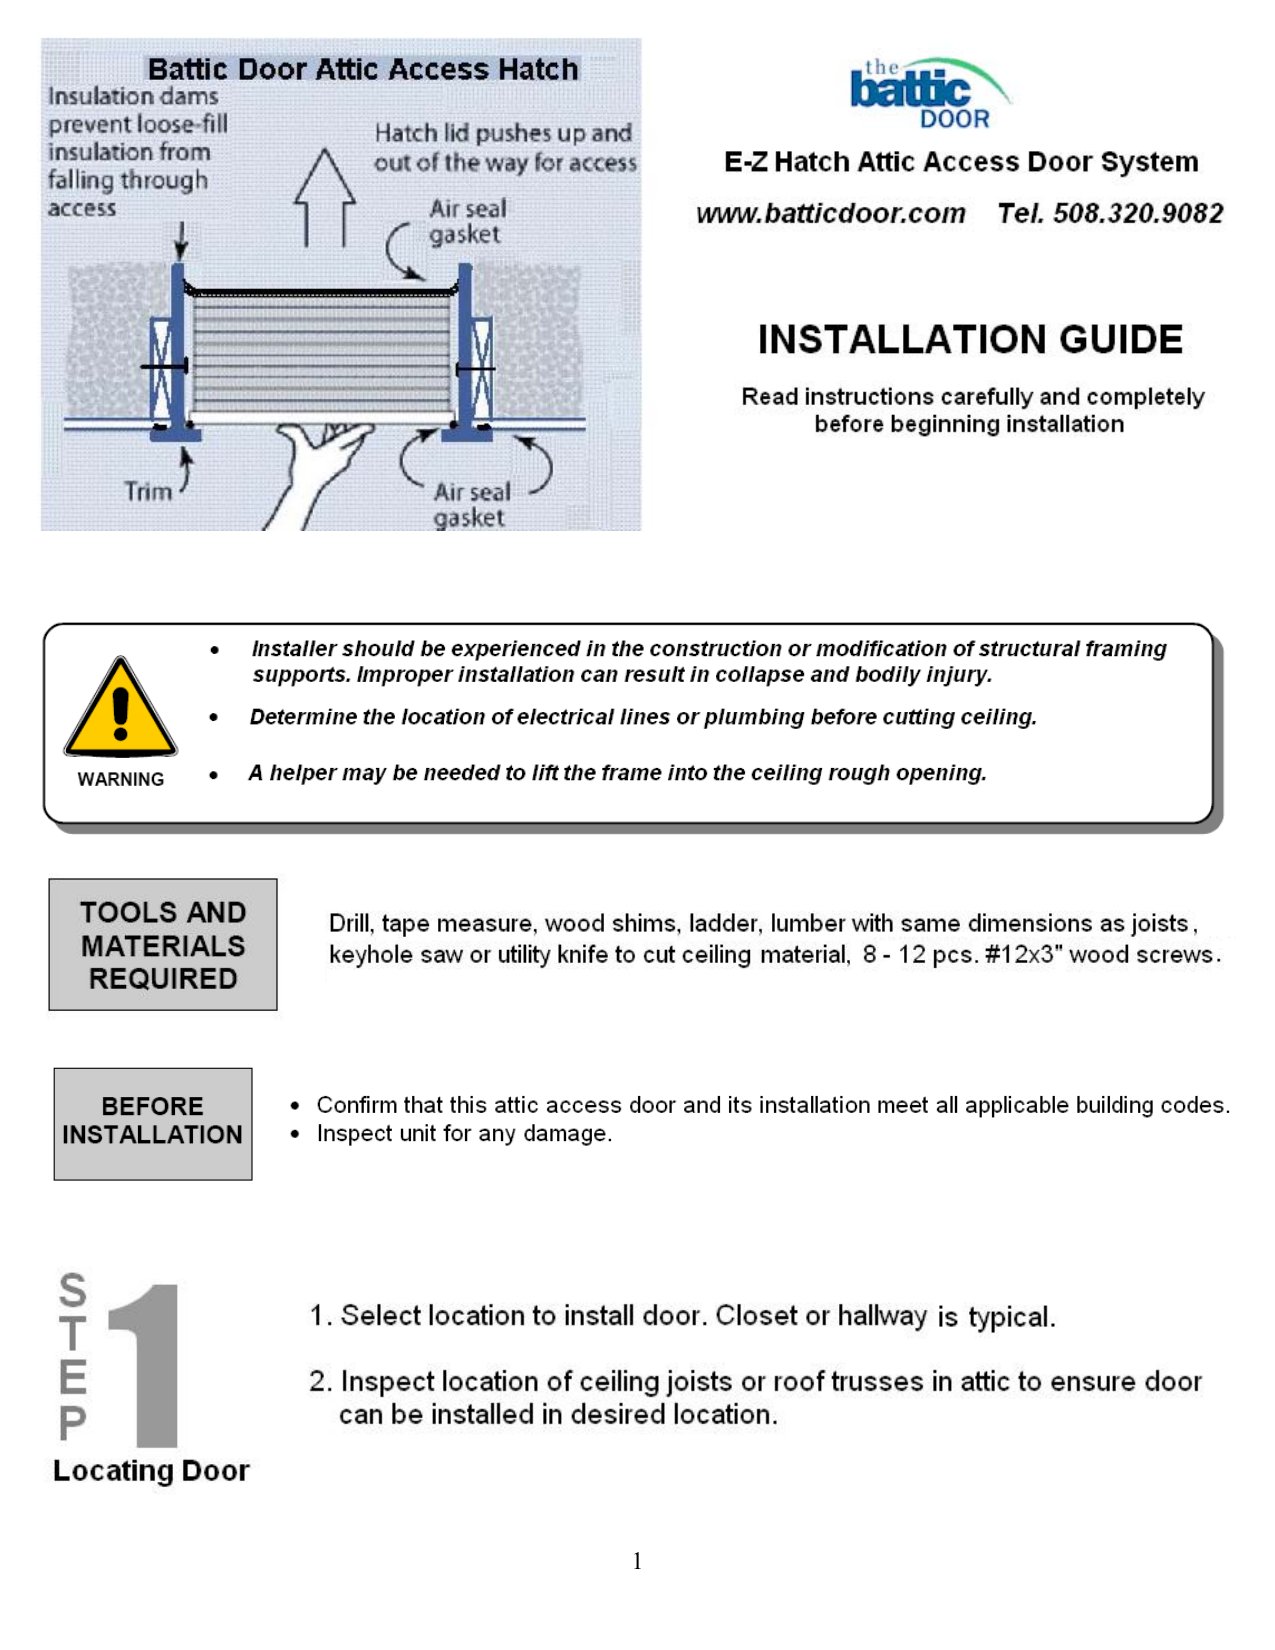
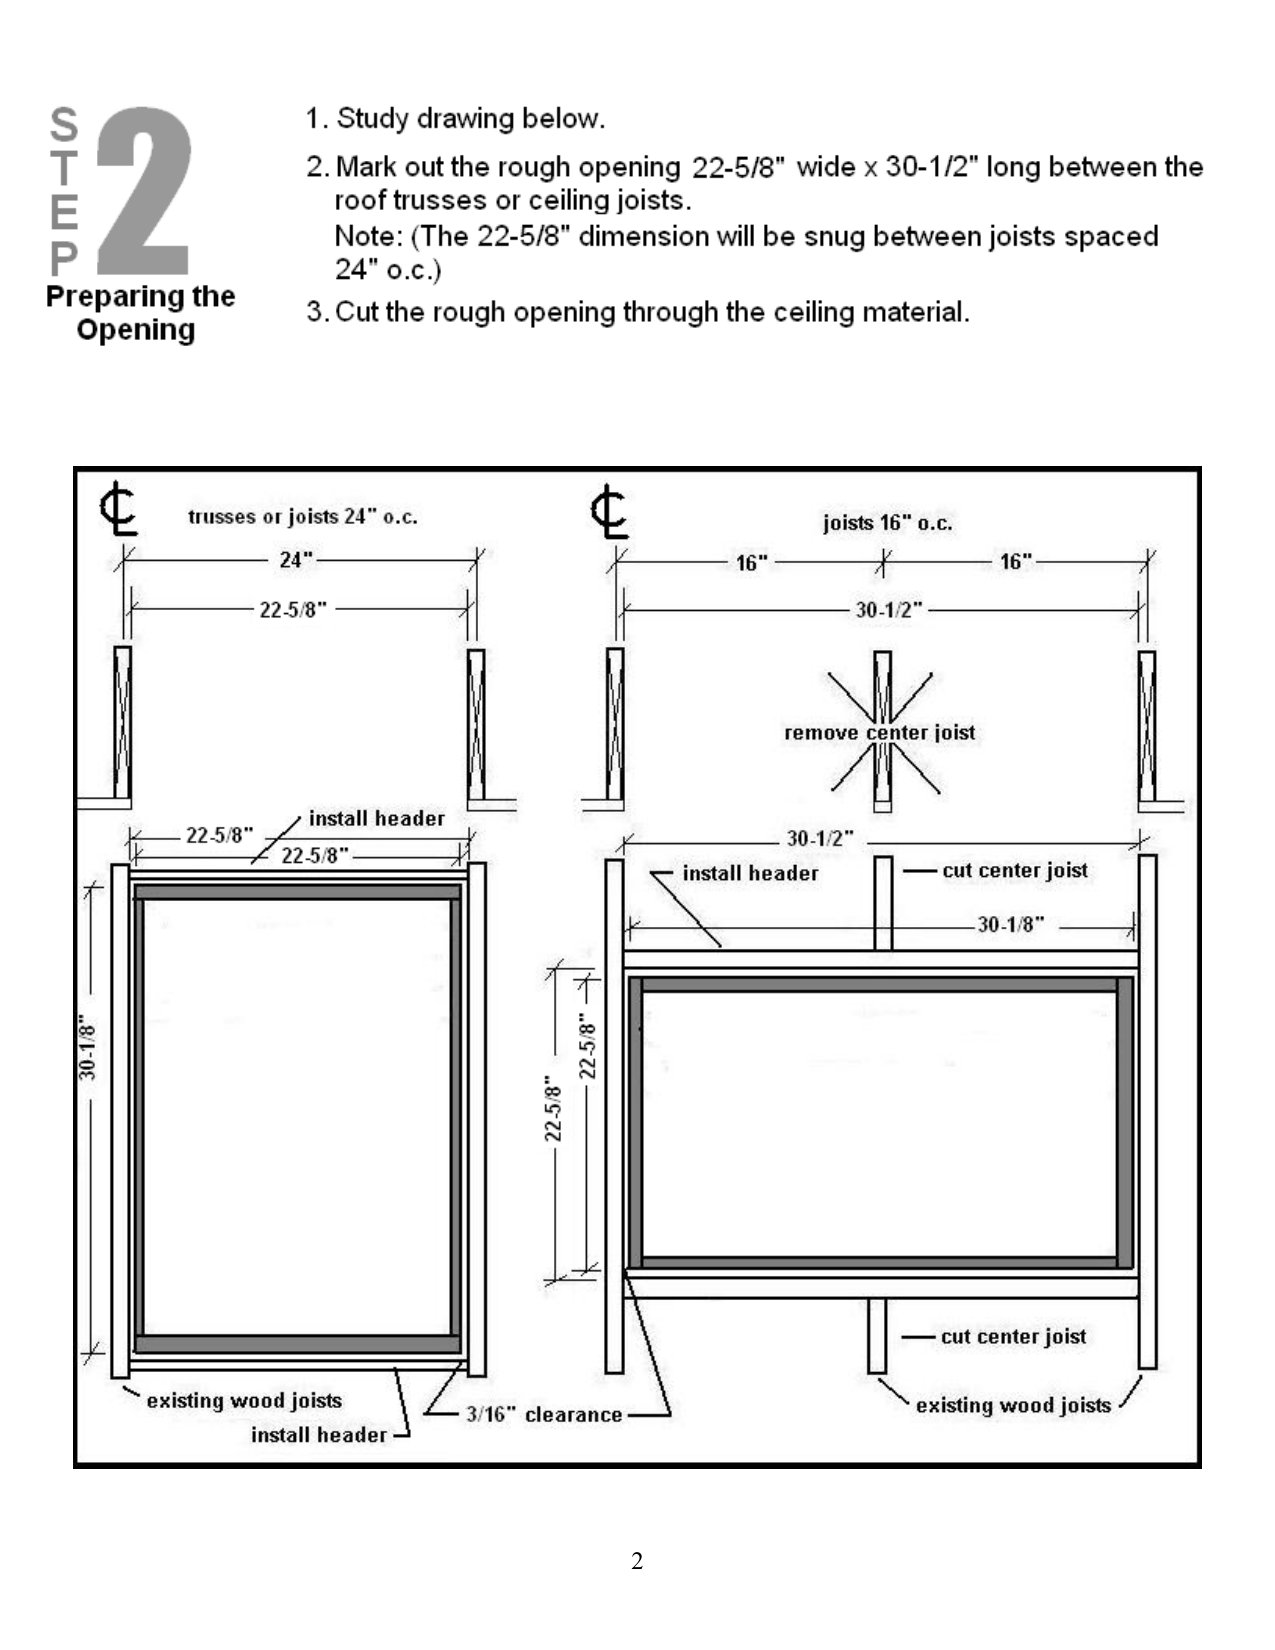
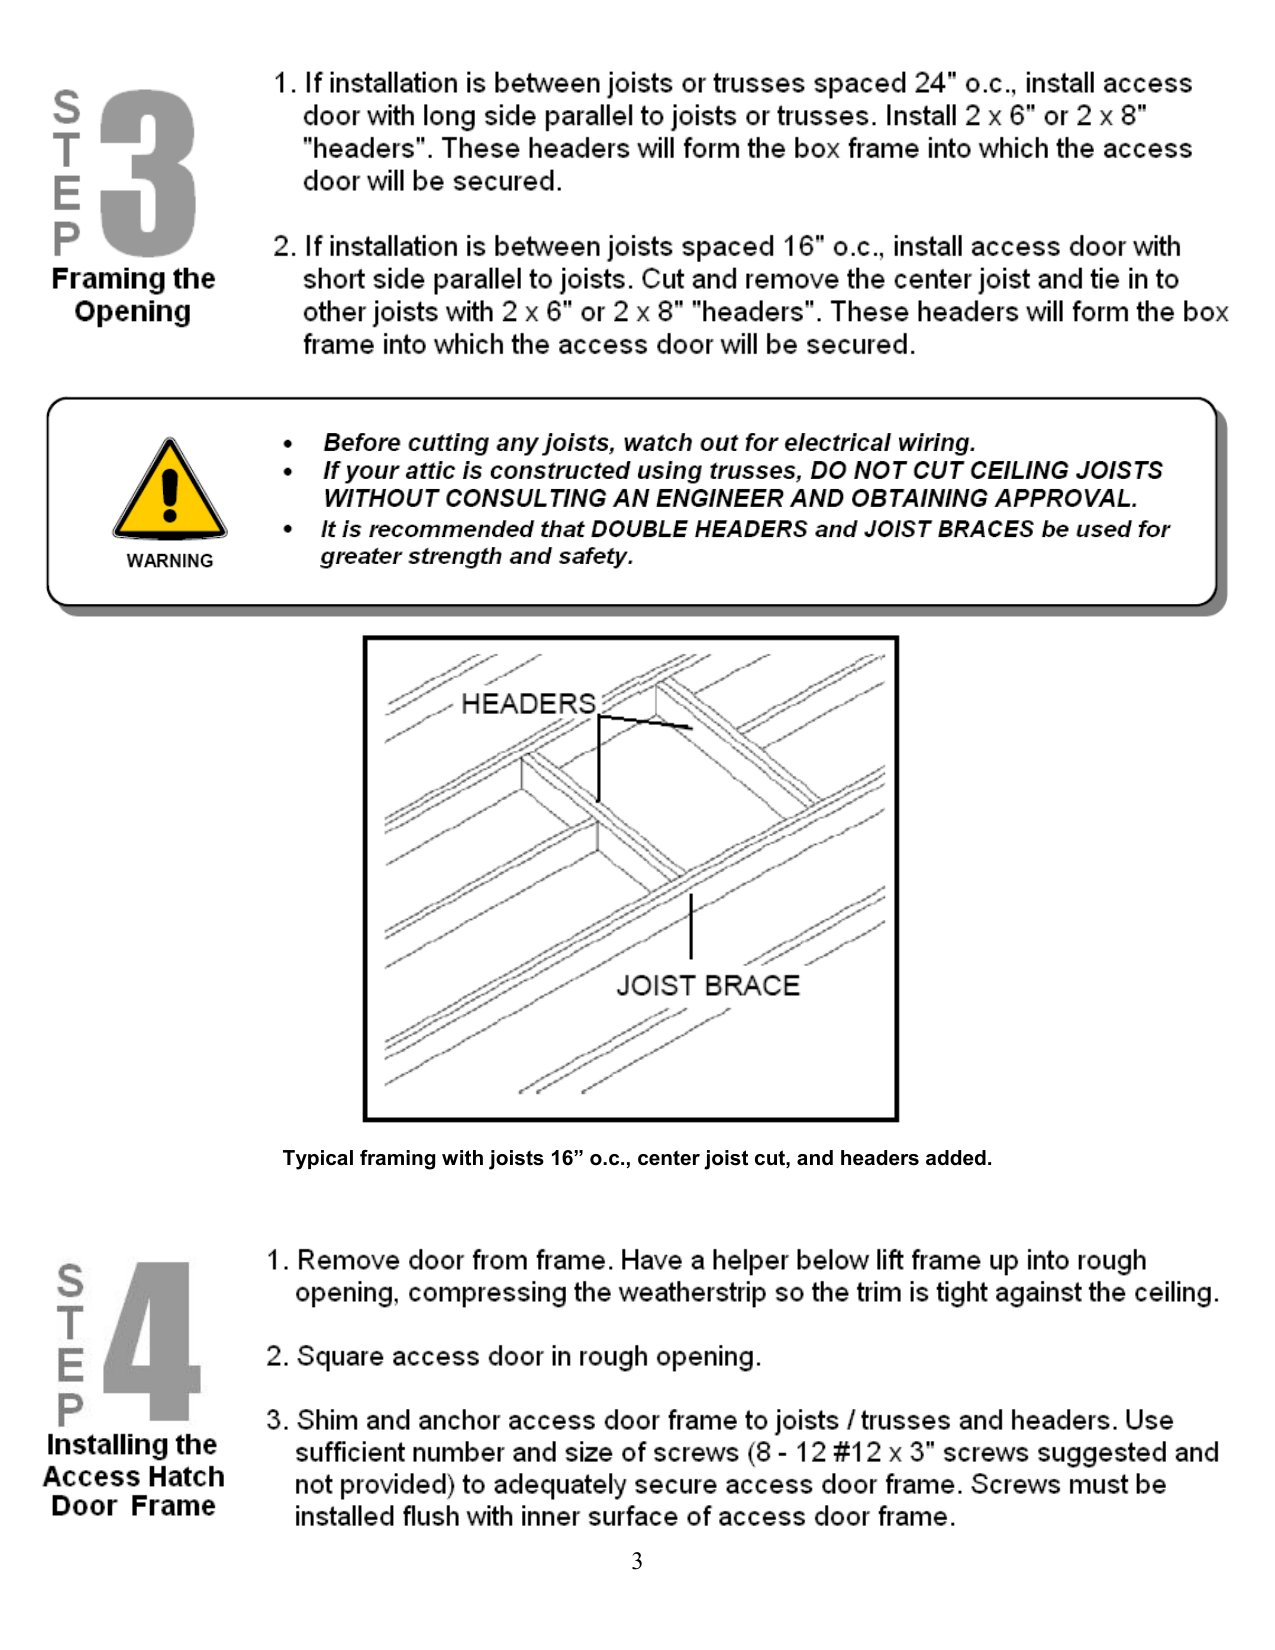
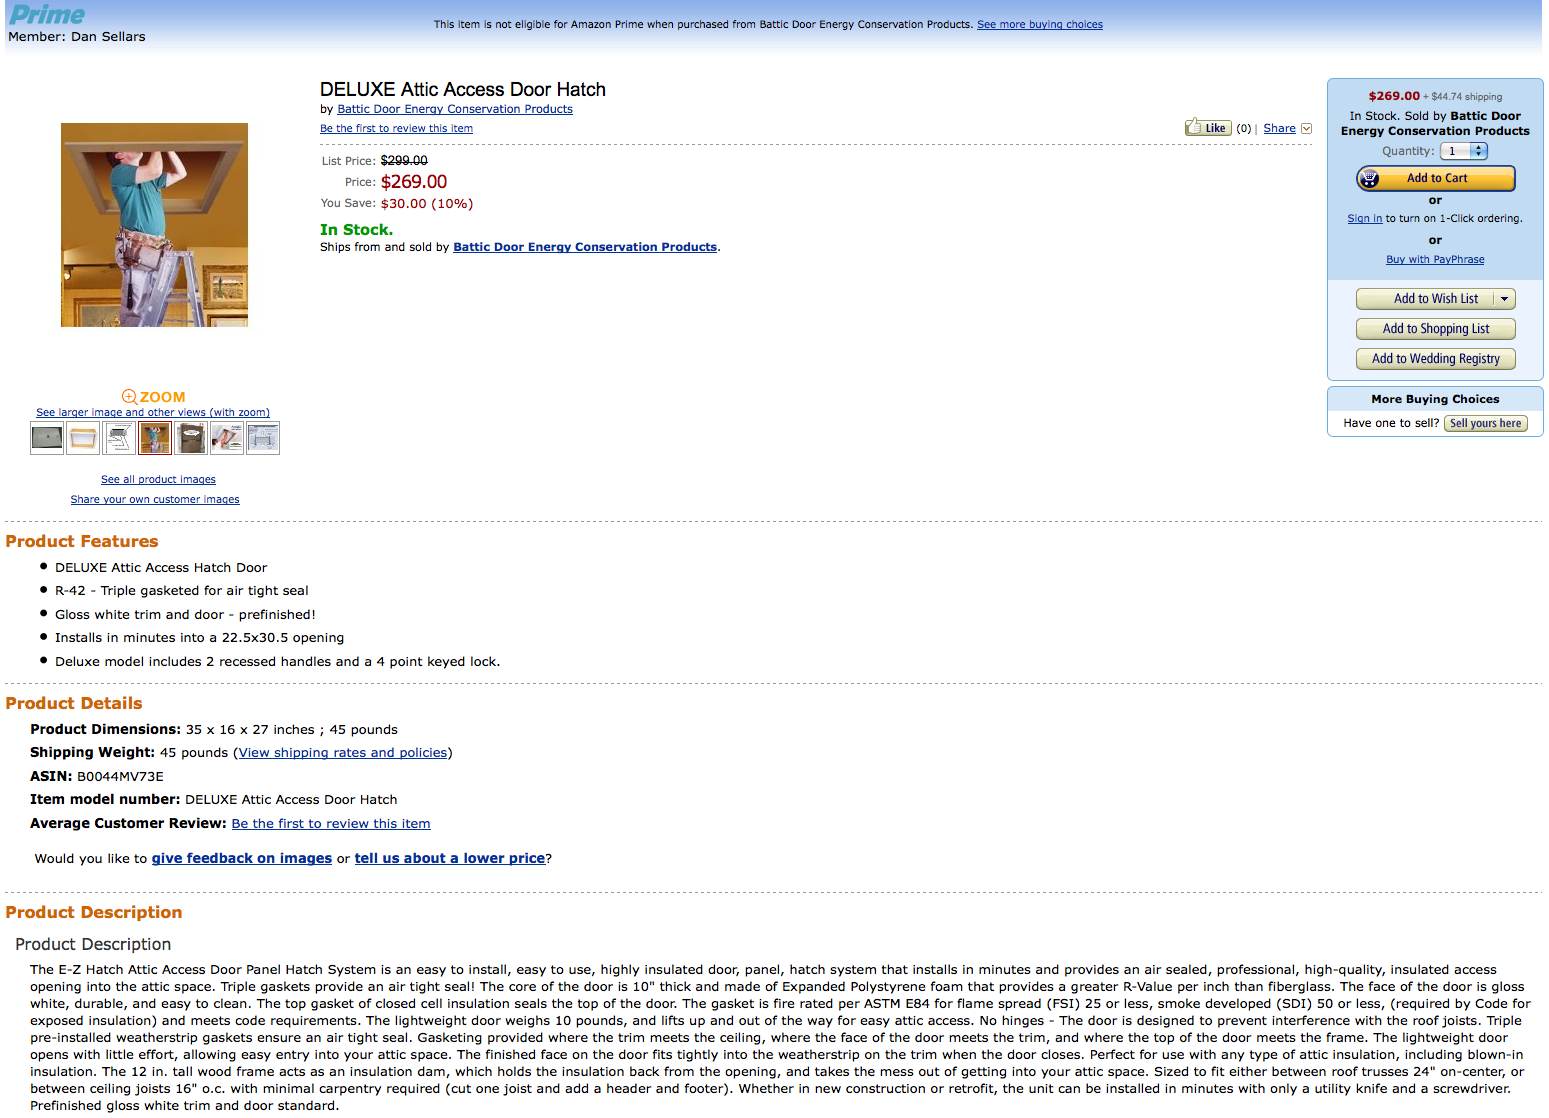
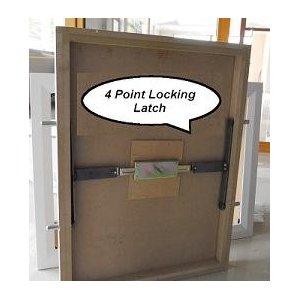
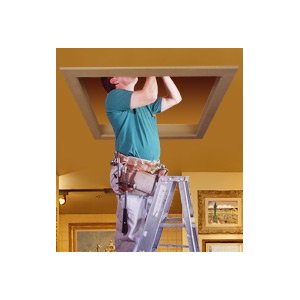
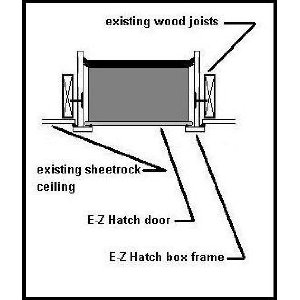
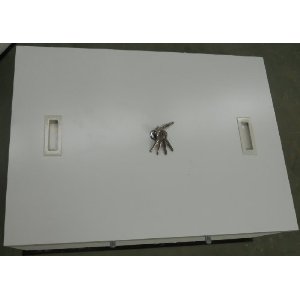
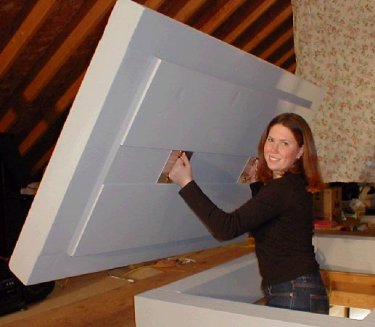
Access Door to Attic
Radiant Barriers According to RIMA - Radiant GUARD®
Home > RIMA on Radiant Barriers
RIMA on Radiant Barriers
The following information is provided by the Reflective Insulation Manufacturers Association (RIMA):
RADIANT BARRIERS
Definition: The generally accepted definition of a radiant barrier system specifies that the reflective material face an open air space. The idea is that a radiant barrier facing an enclosed air space is a "reflective insulation" with a measurable R- value.
Physics of Radiant Barriers
A "radiant barrier" is a reflective/low-emittance surface as defined by ASTM where the emittance is 0.10 or less on or near a building component, that intercepts the flow of radiant energy to and from the building component.
The aluminum foil shields that are commonly inserted behind radiators in older houses are radiant barriers, blocking radiant heat transfer from the radiator to the exterior wall.
It should be clearly understood that although a radiant barrier reduces heat loss and gain through the building envelope because it is installed in vented cavities (like attics), it is not an insulation material per se and has no inherent R-value.
Radiant Barrier Systems (RBS)
A "radiant barrier system" (RBS) is a building section that includes a radiant barrier facing an air space. An attic with a radiant barrier on top of the mass insulation on the floor, or under the roof is an RBS. A vent skin wall with a radiant barrier facing the vented air space is also an RBS.
The distinction between a radiant barrier "material" and radiant barrier "system" is not merely academic. In an attic, the effectiveness of a radiant barrier is significantly affected by the amount of attic ventilation. A vented attic with a radiant barrier is a very different system from an unvented attic with the same radiant barrier.
Types of Radiant Barrier Material
Several types of radiant barrier materials are available. Although they all have similar surface properties (and consequently similar performance), variations in materials and construction result in significant differences with respect to strength, durability, flammability and water vapor permeability.
Most products available commercially fall into two major categories:
1. Aluminum Foil Laminates - foil laminated to kraft paper, plastic films, or to OSB/plywood roof sheathing
2. Aluminized Plastic Films - a thin layer of aluminum particles deposited on film through vacuum process
Installing Radiant Barriers
#### Attics
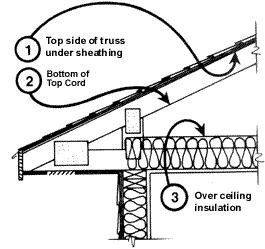
The most common location for a radiant barrier system is in attics. Three basic configurations are used:
- Top side of truss under sheathing
- Under bottom of top cord
- Horizontal installation over existing ceiling insulation (This application is not recommended because it will be subject to loss of performance when dust accumulates on it.)
RIMA-I acknowledges the placement of a radiant barrier on top of mass insulation in attic spaces subject to the following conditions:
- The mass insulation and ceiling building materials should be checked for any evidence of moisture accumulation. Any existing moisture problem should be corrected before installing the radiant barrier.
- Radiant barriers used for this application must have a water vapor transmission per of at least five (5), as measured by ASTM E-96.
- Installation should be accomplished by laying the radiant barrier materials on top of the attic insulation without stapling or taping, so that it has very loose contact with the material below.
- Radiant barriers for this application should meet a Class A, Class 1 flame spread and smoke development rating as determined by ASTM E-84.
- The potential for contamination of the top surface by dust or dirt must be considered in specific applications where applicable.
- As with all building materials, local building codes should be considered.
As noted before, a vented attic with a radiant barrier is a very different system from an unvented attic with the same radiant barrier. Common types of attic ventilation are:
- Soffit to ridge
- Soffit to gable
- Soffit to soffit
- Gable to gable
Most codes require at least a 1 to 300 ventilation rate. What this means is that for every 300 square feet of floor space, there should be one square foot of free vent area.
#### Walls
A very effective technique for walls is a vented skin wall using a radiant barrier. Furring strips are used to separate the outer skin from the internal structural wall. The wall is wrapped with a radiant barrier facing the vented air space. Vents are used at top and bottom to allow the heated air to rise naturally to the attic, where it is vented out through the roof vents.
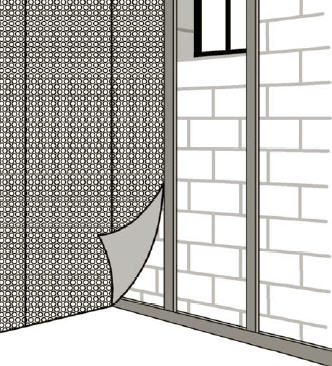
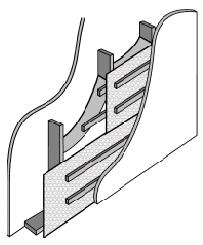
TECHNICAL NOTE: Radiant barriers which are non-perforated are vapor barriers. Care should be exercised with placement!
#### Floors
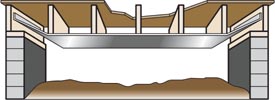
Radiant barriers can also be used in floor systems above unheated basements and crawl spaces. The radiant barrier is either stapled to the underside of floor joists, creating a single reflective air space, or between the joists, followed by some type of sheathing, creating two separate reflective air spaces as shown below.
Radiant barriers are an ideal choice for this application because, in addition to their excellent thermal properties, they are also vapor barriers that prevent ground moisture from migrating into the living space above.
REFLECTIVE INSULATION
Definition: Thermal insulation consisting of one or more low emittance surfaces, bounding one or more enclosed air spaces (like bubbles).
Concept of Reflective Insulation
Standard types of insulation, such as fiberglass, foam, and cellulose primarily reduce heat transfer by trapping air or some type of a gas. Thus, these products or technologies reduce convection as a primary method of reducing heat transfer. They are not as effective in reducing radiant heat transfer, which is often a primary mode of heat transfer in a building envelope, in fact, these products, like most building materials, have very high radiant transfer rates. In other words the surfaces of standard types of insulation are good radiators of heat.
Reflective insulation uses layers of aluminum, paper, and/or plastic to trap air and thus reduce convective heat transfer. The aluminum component however is very effective in reducing radiant heat transfer. In fact, the metalized and foil materials commonly used in reflective insulation will reduce radiant heat transfer by as much as 97%.
Heat flow by radiation has been brought to the public’s attention with high efficiency windows, which commonly use the term "Low E" to advertise the higher performance ratings. The "E" stands for emittance and the values range from 0 to 1, with 0 being no radiation and 1 is the highest measure of emittance or radiation. Most building materials, including fiberglass, foam and cellulose have surface emittances or "E" values in excess of 0.70. Reflective insulations typically have "E" values of 0.03 (again, the lower the better). Therefore, reflective insulation is superior to other types of insulating materials in reducing radiant heat. The term reflective, in reflective insulation, is in some ways a misnomer, because aluminum either works by reflecting heat (reflectance of 0.97) or by not radiating heat (emittance of 0.03). Whether stated as reflectivity or emissivity, the performance (heat transfer) is the same. When reflective insulation is installed in building cavities, it traps air (like other insulation materials) and therefore reduces heat flow by convection, thus addressing all three modes of heat transfer. In all cases, the reflective material must be adjacent to an air space. Aluminum, when sandwiched between two pieces of plywood for example, will conduct heat at a high rate.
All insulation products including reflective insulation are measured by R-values, whereby the "R" means resistance to heat flow. The higher the R-value, the greater the insulating or thermal performance of the material.
Reflective insulation is a non-toxic, user and building owner safe, and environmentally safe building material. In addition, the products are typically recyclable and thus can be termed a Green Building Material.
Another benefit is that the reflective insulation can also serve as a high performance and thus effective vapor barrier.
Understanding a Reflective Insulation System (RIS)
Layers of aluminum or a low emittance material and enclosed air spaces, which in turn provide highly reflective or low emittance cavities adjacent to a heated region, typically form a reflective insulation system. Some reflective insulation systems also use other layers of materials such as paper or plastic to form additional enclosed air spaces. The performance of the system is determined by the emittance of the material(s), the lower the better, and the size of the enclosed air spaces. The smaller the air space, the less heat will transfer by convection. Therefore, to lessen heat flow by convection, a reflective insulation, with its multiple layers of aluminum and enclosed air space, is positioned in a building cavity (stud wall, furred-out masonry wall, floor joist, ceiling joist, etc.) to divide the larger cavity (3/4" furring, 2" x 4", 2" x 6", etc.) into smaller air spaces. These smaller trapped air spaces reduce convective heat flow.
Reflective insulation differs from conventional mass insulation in the following:
- Reflective insulation has very low emittance values "E-values" (typically 0.03 compared to 0.90 for most insulation) thus significantly reduces heat transfer by radiation;
- A reflective insulation does not have significant mass to absorb and retain heat;
- Reflective insulation has lower moisture transfer and absorption rates, in most cases;
- Reflective insulation traps air with layers of aluminum, paper and/or plastic as opposed to mass insulation which uses fibers of glass, particles of foam, or ground up paper;
- Reflective insulation does not irritate the skin, eyes, or throat and contain no substances which will out-gas;
- The change in thermal performance due to compaction or moisture absorption, a common concern with mass insulation, is not an issue with reflective insulation.
Types of Reflective Insulation Materials
Reflective insulation has been used effectively for decades and is available throughout the world. The following are the major types of reflective insulation currently available:
- Layer or layers of aluminum foil separated by a layer or layers of plastic bubbles or a foam material;
- Multiple layers of aluminum, kraft paper, and/or plastic with internal expanders an flanges at the edge for easy installation;
- Single layer of aluminum foil laminated to a kraft paper or plastic material when encapsulated with an adjacent air space.
Applications for Reflective Insulation Materials
Reflective insulation materials are designed for installation between, over, or under framing members and as a result, are applicable to walls, floors, and ceilings. Applications for reflective insulation extend to many commercial, agricultural and industrial uses, such as panelized wood roofs, pre-engineered buildings, pole barns and other wood framed structures. A few representative applications are listed below:
Residential Construction, New and Retrofit - Walls, basements, floors, ceilings, roofs, and crawl spaces.
Commercial Construction, New and Retrofit - Walls, floors, basements, ceilings, roofs, and crawl spaces.
Manufactured Housing Construction, New and Retrofit - Walls, floors, roofs, and crawl spaces.
Other Uses, New and Retrofit - Water heater covers, cold storage units, poultry, and livestock buildings, equipment sheds, pipe insulation and recreational vehicles.
Installing Reflective Insulation Systems
Reflective insulation products incorporate trapped air spaces as part of the system. These air spaces, which may be layered or closed-cell, can be included in the system either when the product is manufactured or while it is being installed. In either case, the advertised performance of the insulation requires that these air spaces be present after the product is installed. The labeled R-values will not be achieved if the product is not installed according to the instructions of the manufacturer.
The thermal performance of the reflective system varies with the size and number of enclosed reflective spaces within the building cavity. Most reflective systems range from one to five enclosed air spaces.
There are other beneficial considerations for using reflective insulation. Generally, these products have a very low water vapor and air permeance. When installed properly, with joints taped securely, reflective insulation materials are efficient vapor retarders and an effective barrier to air and radon gas.
Since reflective insulation materials are effective vapor retarders, care should be taken to ensure that they are installed correctly within the structure. Correct installation depends on the climatic conditions and moisture sources involved. An appropriate installation ensures that all joints and seams are butted against each other and taped, or overlapped and taped. This will reduce the possibility of moisture condensation within the cavity and improve performance.
radiant barrier - vent/fans - insulation - attic hatch
Of the three mechanisms of heat transfer (conduction, convection and radiation), radiation is one of the most significant in most climates, and is the least easy to model. There is a linear relationship between temperature differential and conductive / convective heat transfer rate. But, radiation is an exponential relationship, which is much more significant when the temperature differential is large (summer or winter).
The rate of heat transfer (which is related to heating-and-cooling requirement) is determined in part by the surface area of the building. Decorative corners can double or triple the exterior envelope surface area, and also create more opportunities for air infiltration leaks.
In mild arid climates with comfortable cool dry nights, two types of natural ventilation can be achieved through careful design: cross ventilation and passive-stack ventilation.
Cross ventilation requires openings on two sides of a room.
Passive-stack ventilation uses a vertical space, like a tower, that creates a vacuum as air rises by natural convection. An inlet for cool air at the bottom of this space creates an upward-moving air current.
Allergens such as pollen can be an issue when windows are used for fresh air ventilation. Anything that creates an air pressure difference (like an externally vented clothes dryer, fireplace, kitchen and bathroom vents) will draw unfiltered outside air in through every small air leak in a building. As an alternative, air can be filtered through a Minimum Efficiency Reporting Value MERV 8+ air filter to remove allergens.
An energy audit uses a calibrated exhaust fan to measure and locate poor-weatherization air-infiltration leaks cause by careless conventional construction.
In hot humid climates with uncomfortable nights, fresh air ventilation can be controlled, filtered, dehumidified, and cooled (possibly using an air exchanger). A solar air conditioner can be used to cool and dehumidify hot humid air. ASHRAE, an international society of HVAC engineers, recommends a minimum 0.35 air changes / hour AND 15 CFM of fresh air for each person in a room (year round regardless of outside conditions). Carbon dioxide monitors can be used to increase fresh air intake in high-occupancy rooms when the air becomes unhealthy.
In a climate that is cool at night and too warm in the day, thermal mass can be strategically placed and insulated to slow the heating of the building when the sun is hot. Phase change materials can be designed to extract unwanted heat during the day, and release it at night.
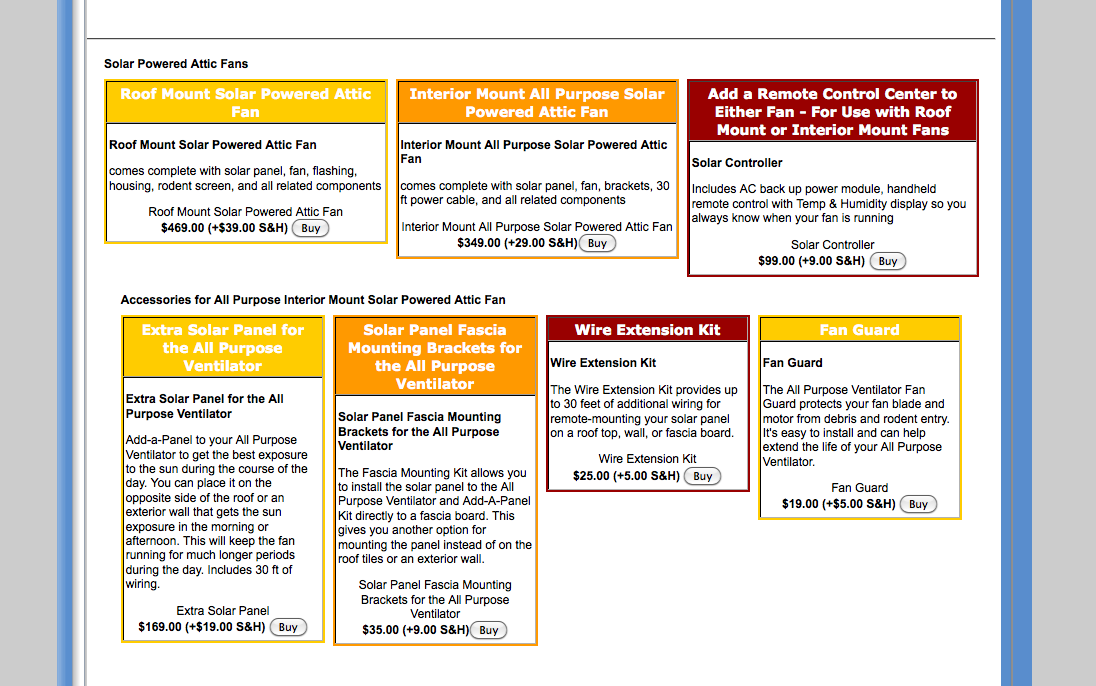
Solar Fan

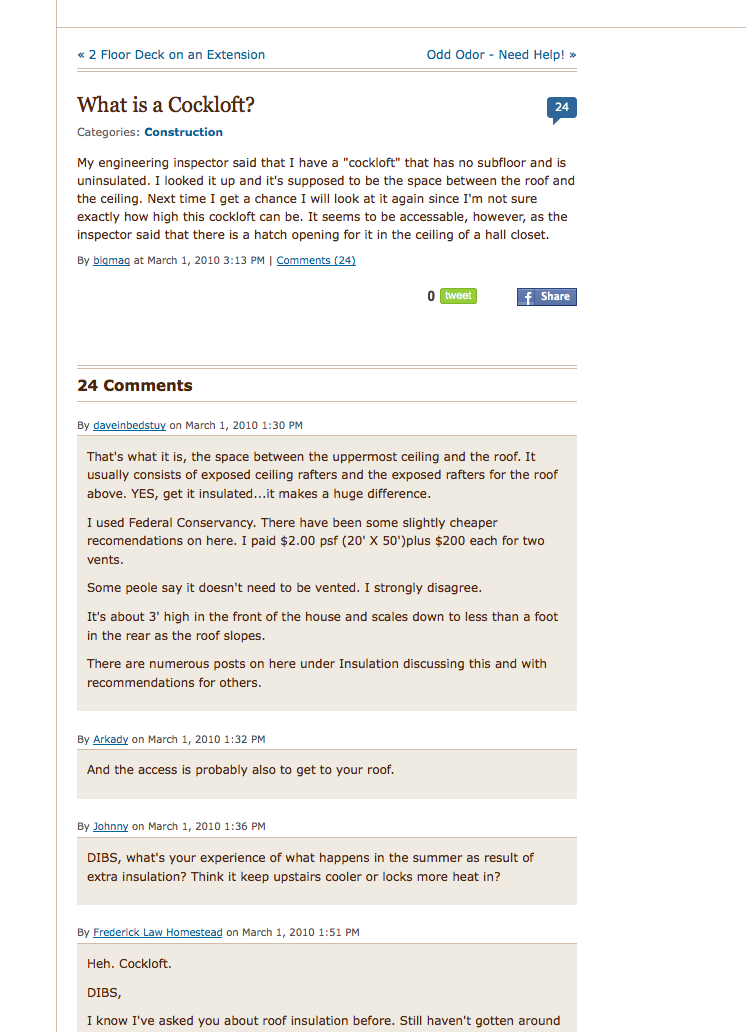
What is a cockloft?
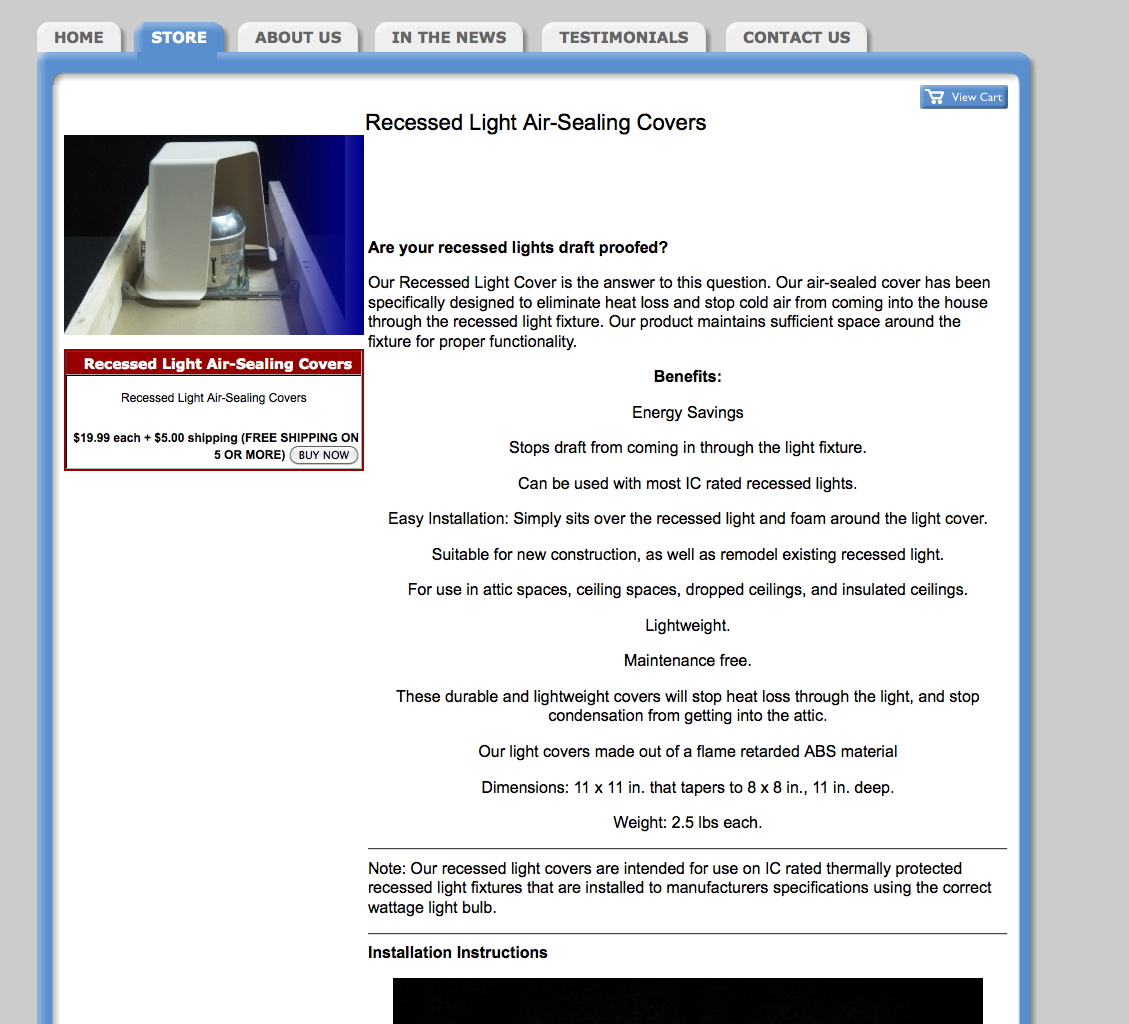
Recessed Light Air-Sealing Covers
Energy Guardian® Kits for Push-up Hatches
Open Space


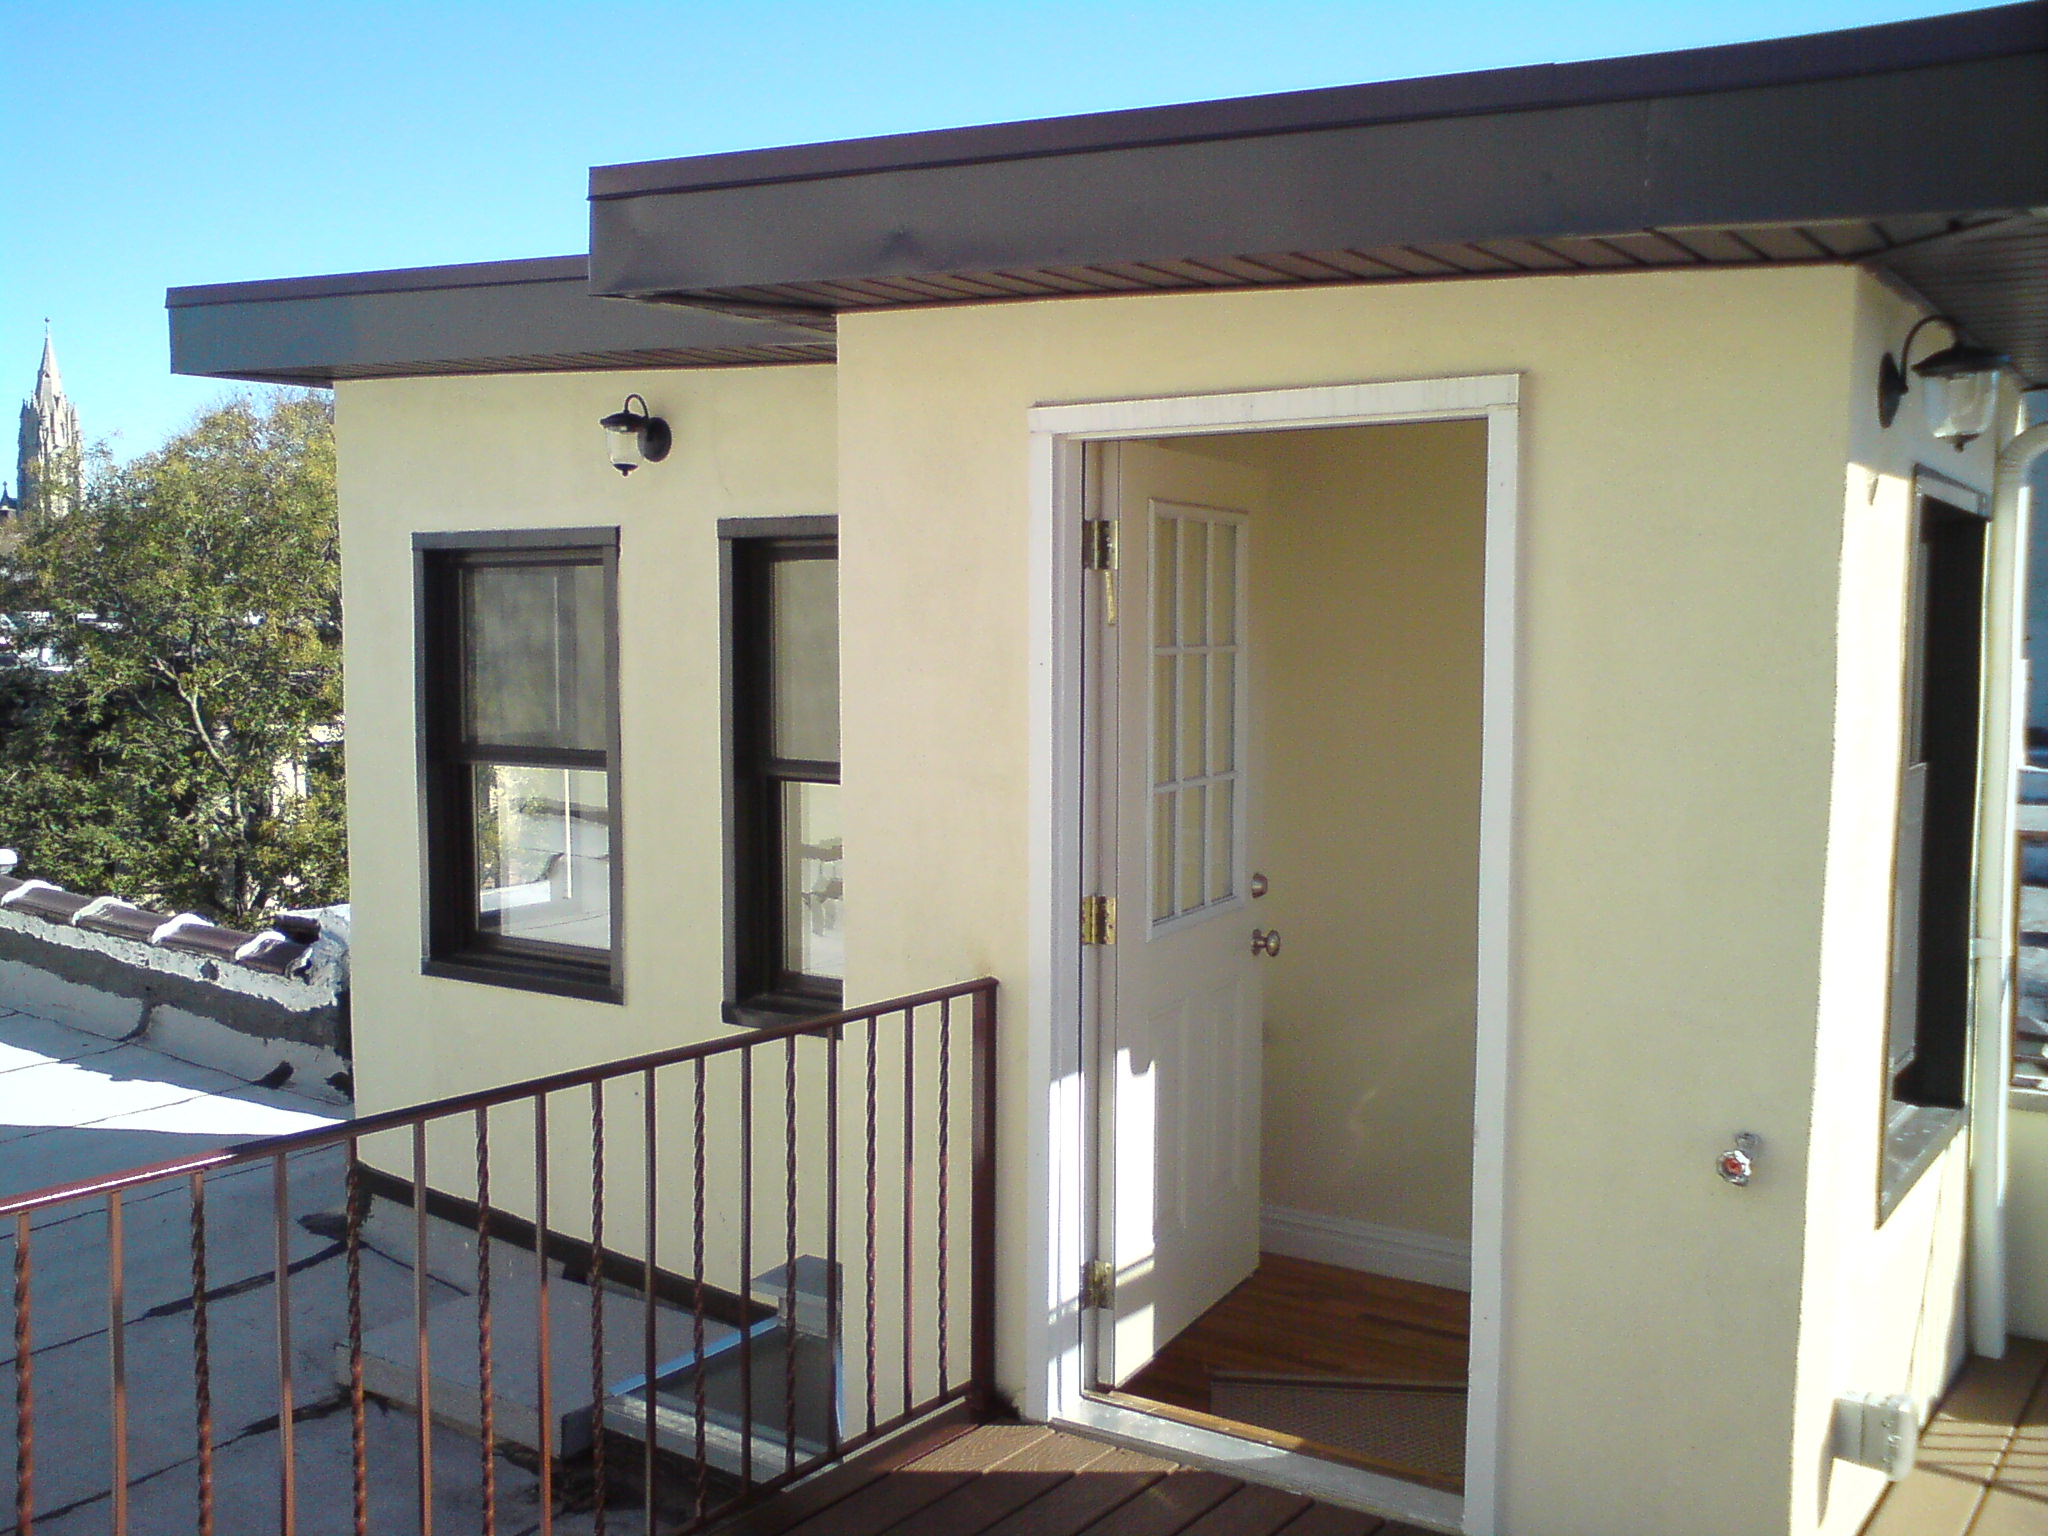
Bulkhead with windows and roof overhang
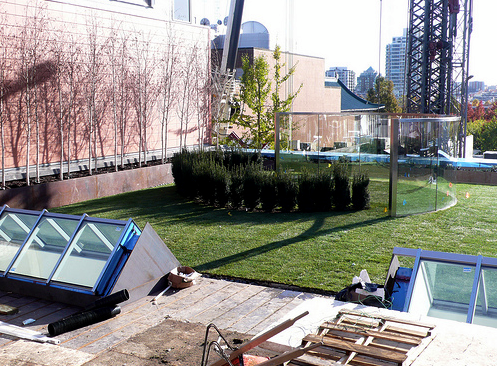
Roof windows

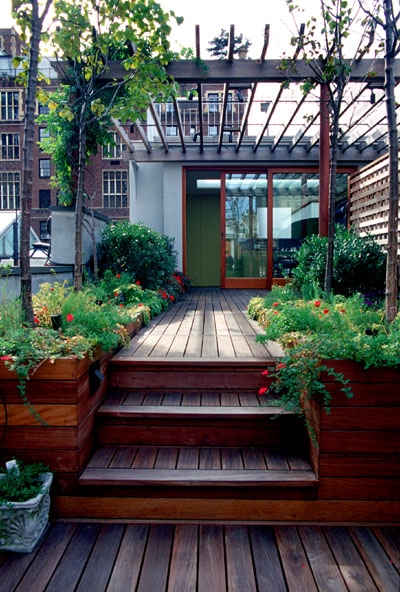
Arbors
Stunning Green Roof

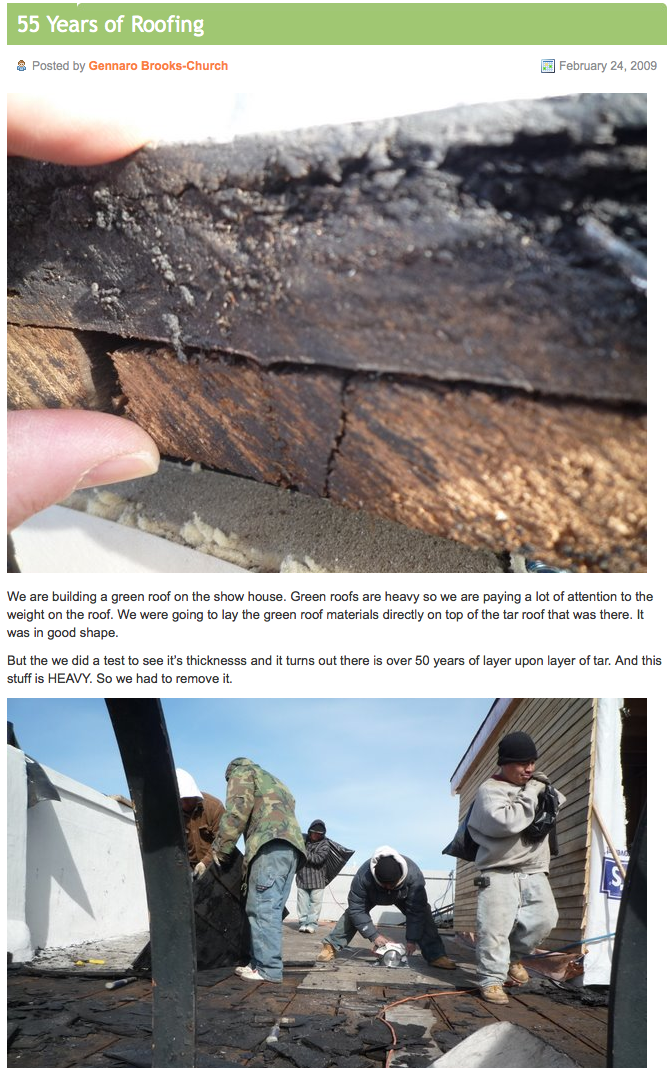
55 years of roofing
Park Slope Green Roof

Permitspace - Deck in a Rear Yard
###
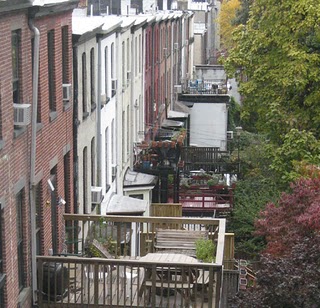
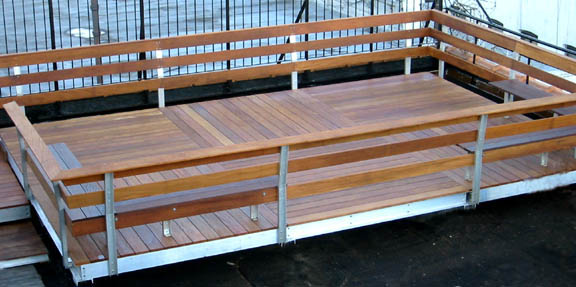
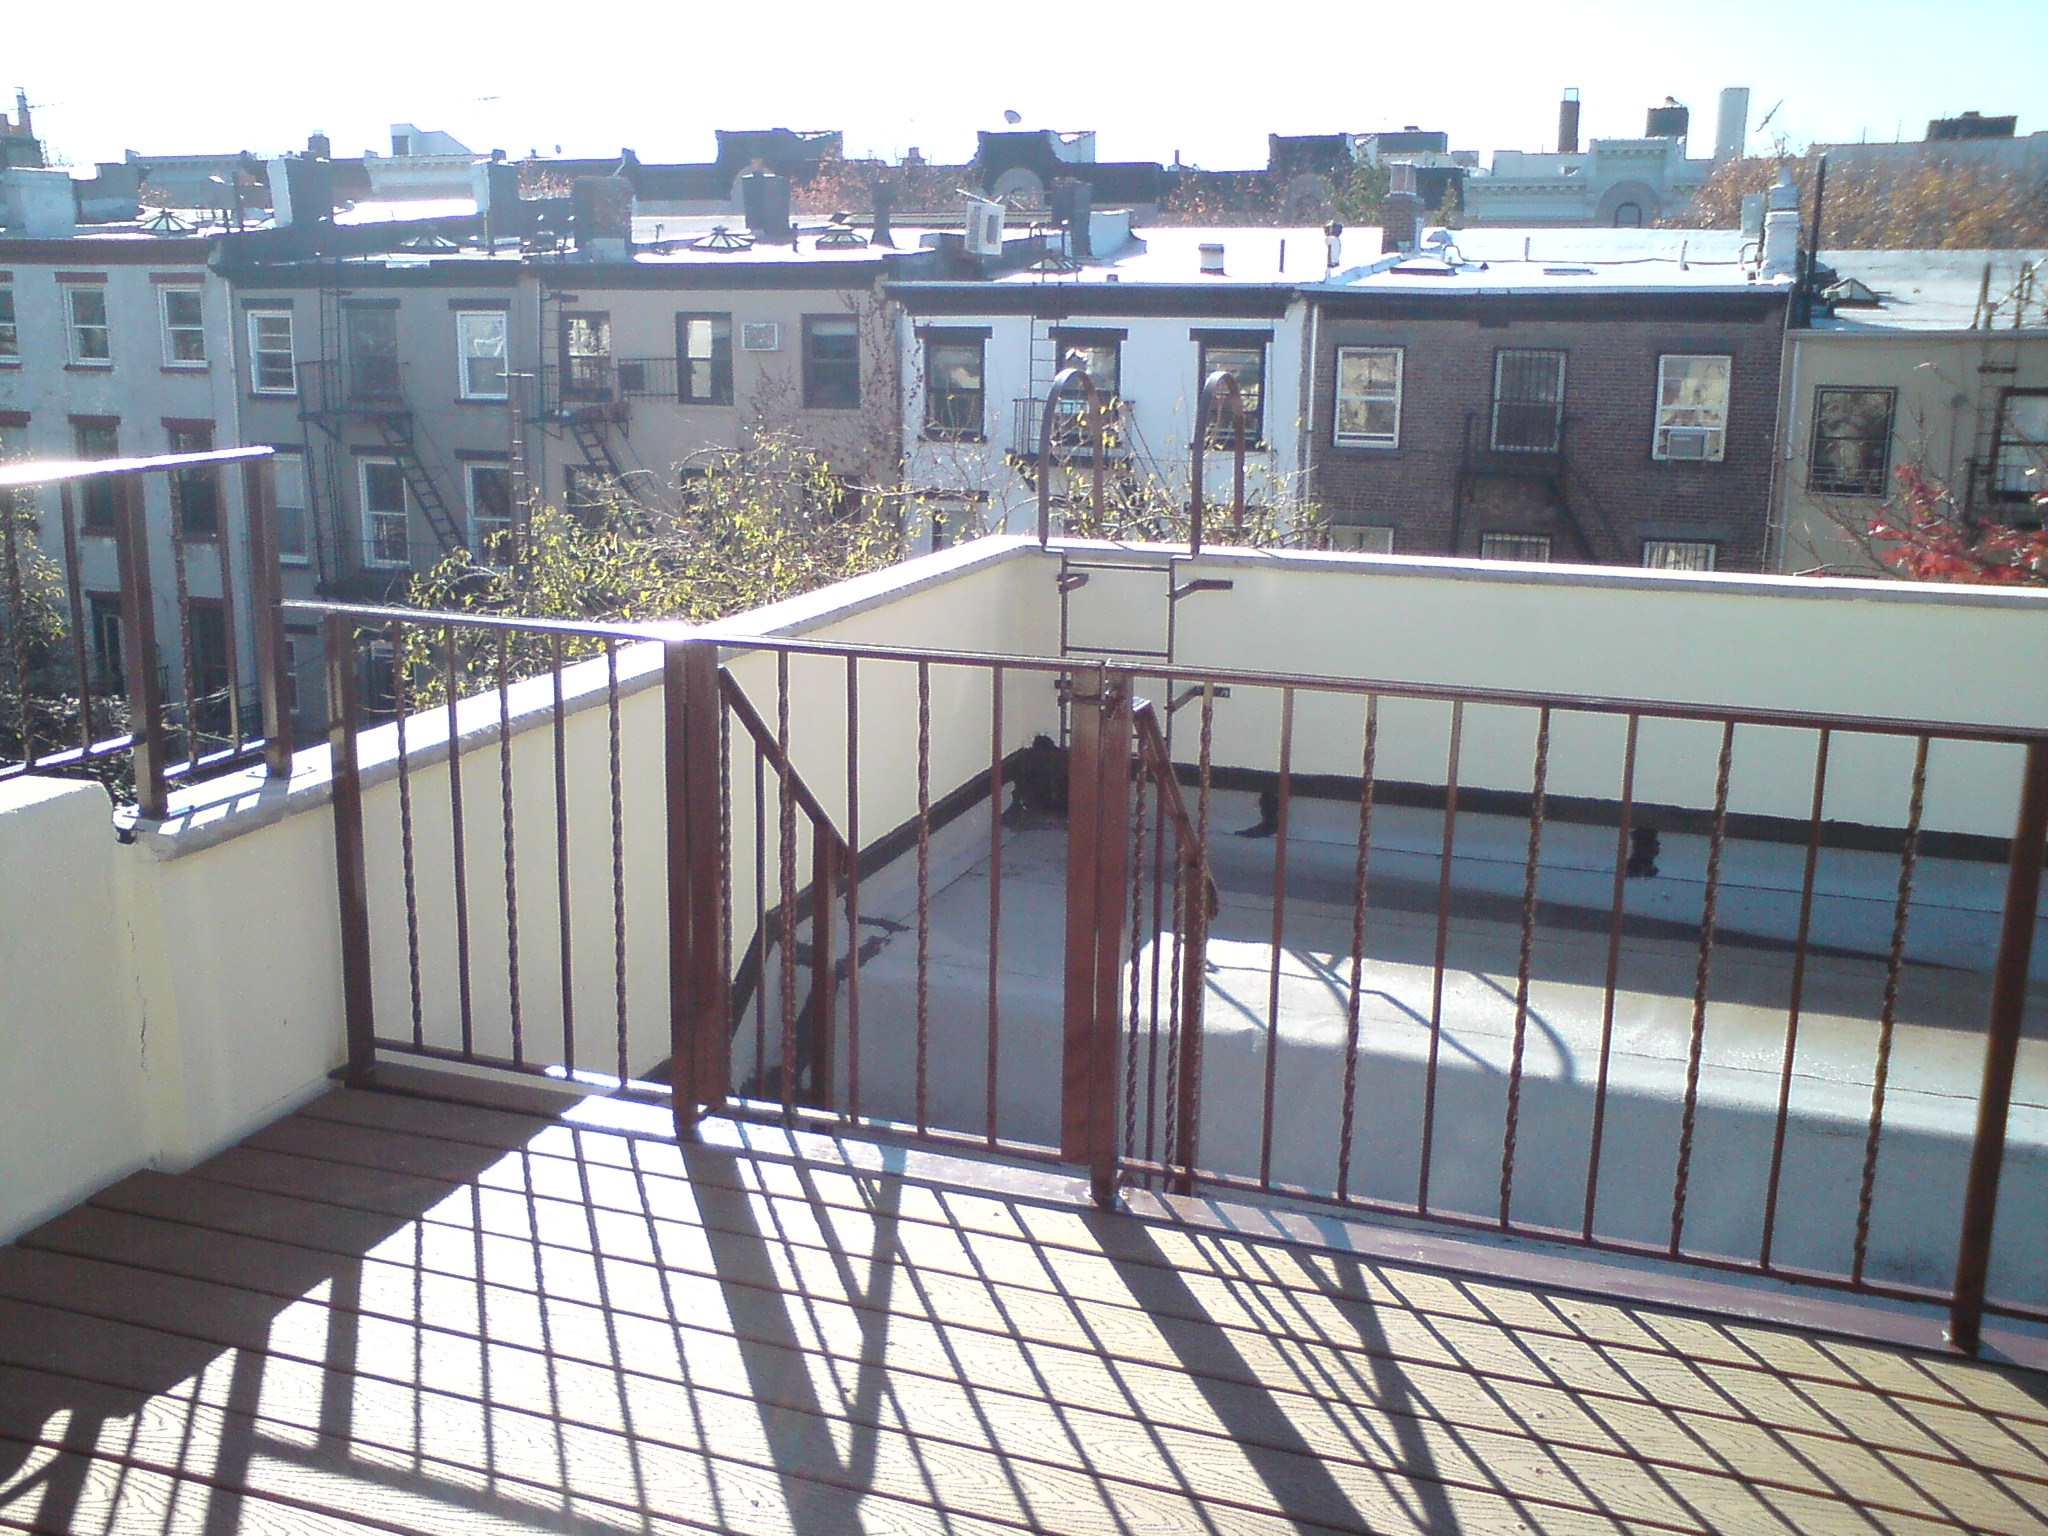
Above is a view into typical Brooklyn Brownstone rear yards, showing many decks and roof coverings constructed of combustible materials. Often, these structures have not been constructed legally. Q: What are the legal requirements for the construction of a Deck in the Rear Yard of a Brownstone-type building? A: When considering construction of a Deck, it is necessary to comply with the Department of Buildings requirements for Decks. Legalization of existing Decks can be problematic, because many have not been designed by an Architect or Engineer and no Permit was ever obtained. The NYC Department of Buildings is cracking-down on Deck requirements, as they can be hazardous from a structural or fire safety standpoint when constructed improperly. An Illegal Deck can also be a problem when selling a property or applying for a Certificate of Occupancy. Below is a listing of the basic Deck requirements, distilled from NYC Department of Buildings Memorandums. New Decks would need to comply with the below in order to obtain Plan Approval. Existing Decks needing to be Legalized would have to be modified (as required) to comply with the below:
Definition of a Deck: A Deck is a raised floor, supported by structural framing above the surrounding ground at the level of the first story of a house. A Deck must be constructed without a roof. An outdoor structure with a roof is not a Deck. It may be considered an additional room, in which case different zoning rules and NYC Building Code provisions will apply.
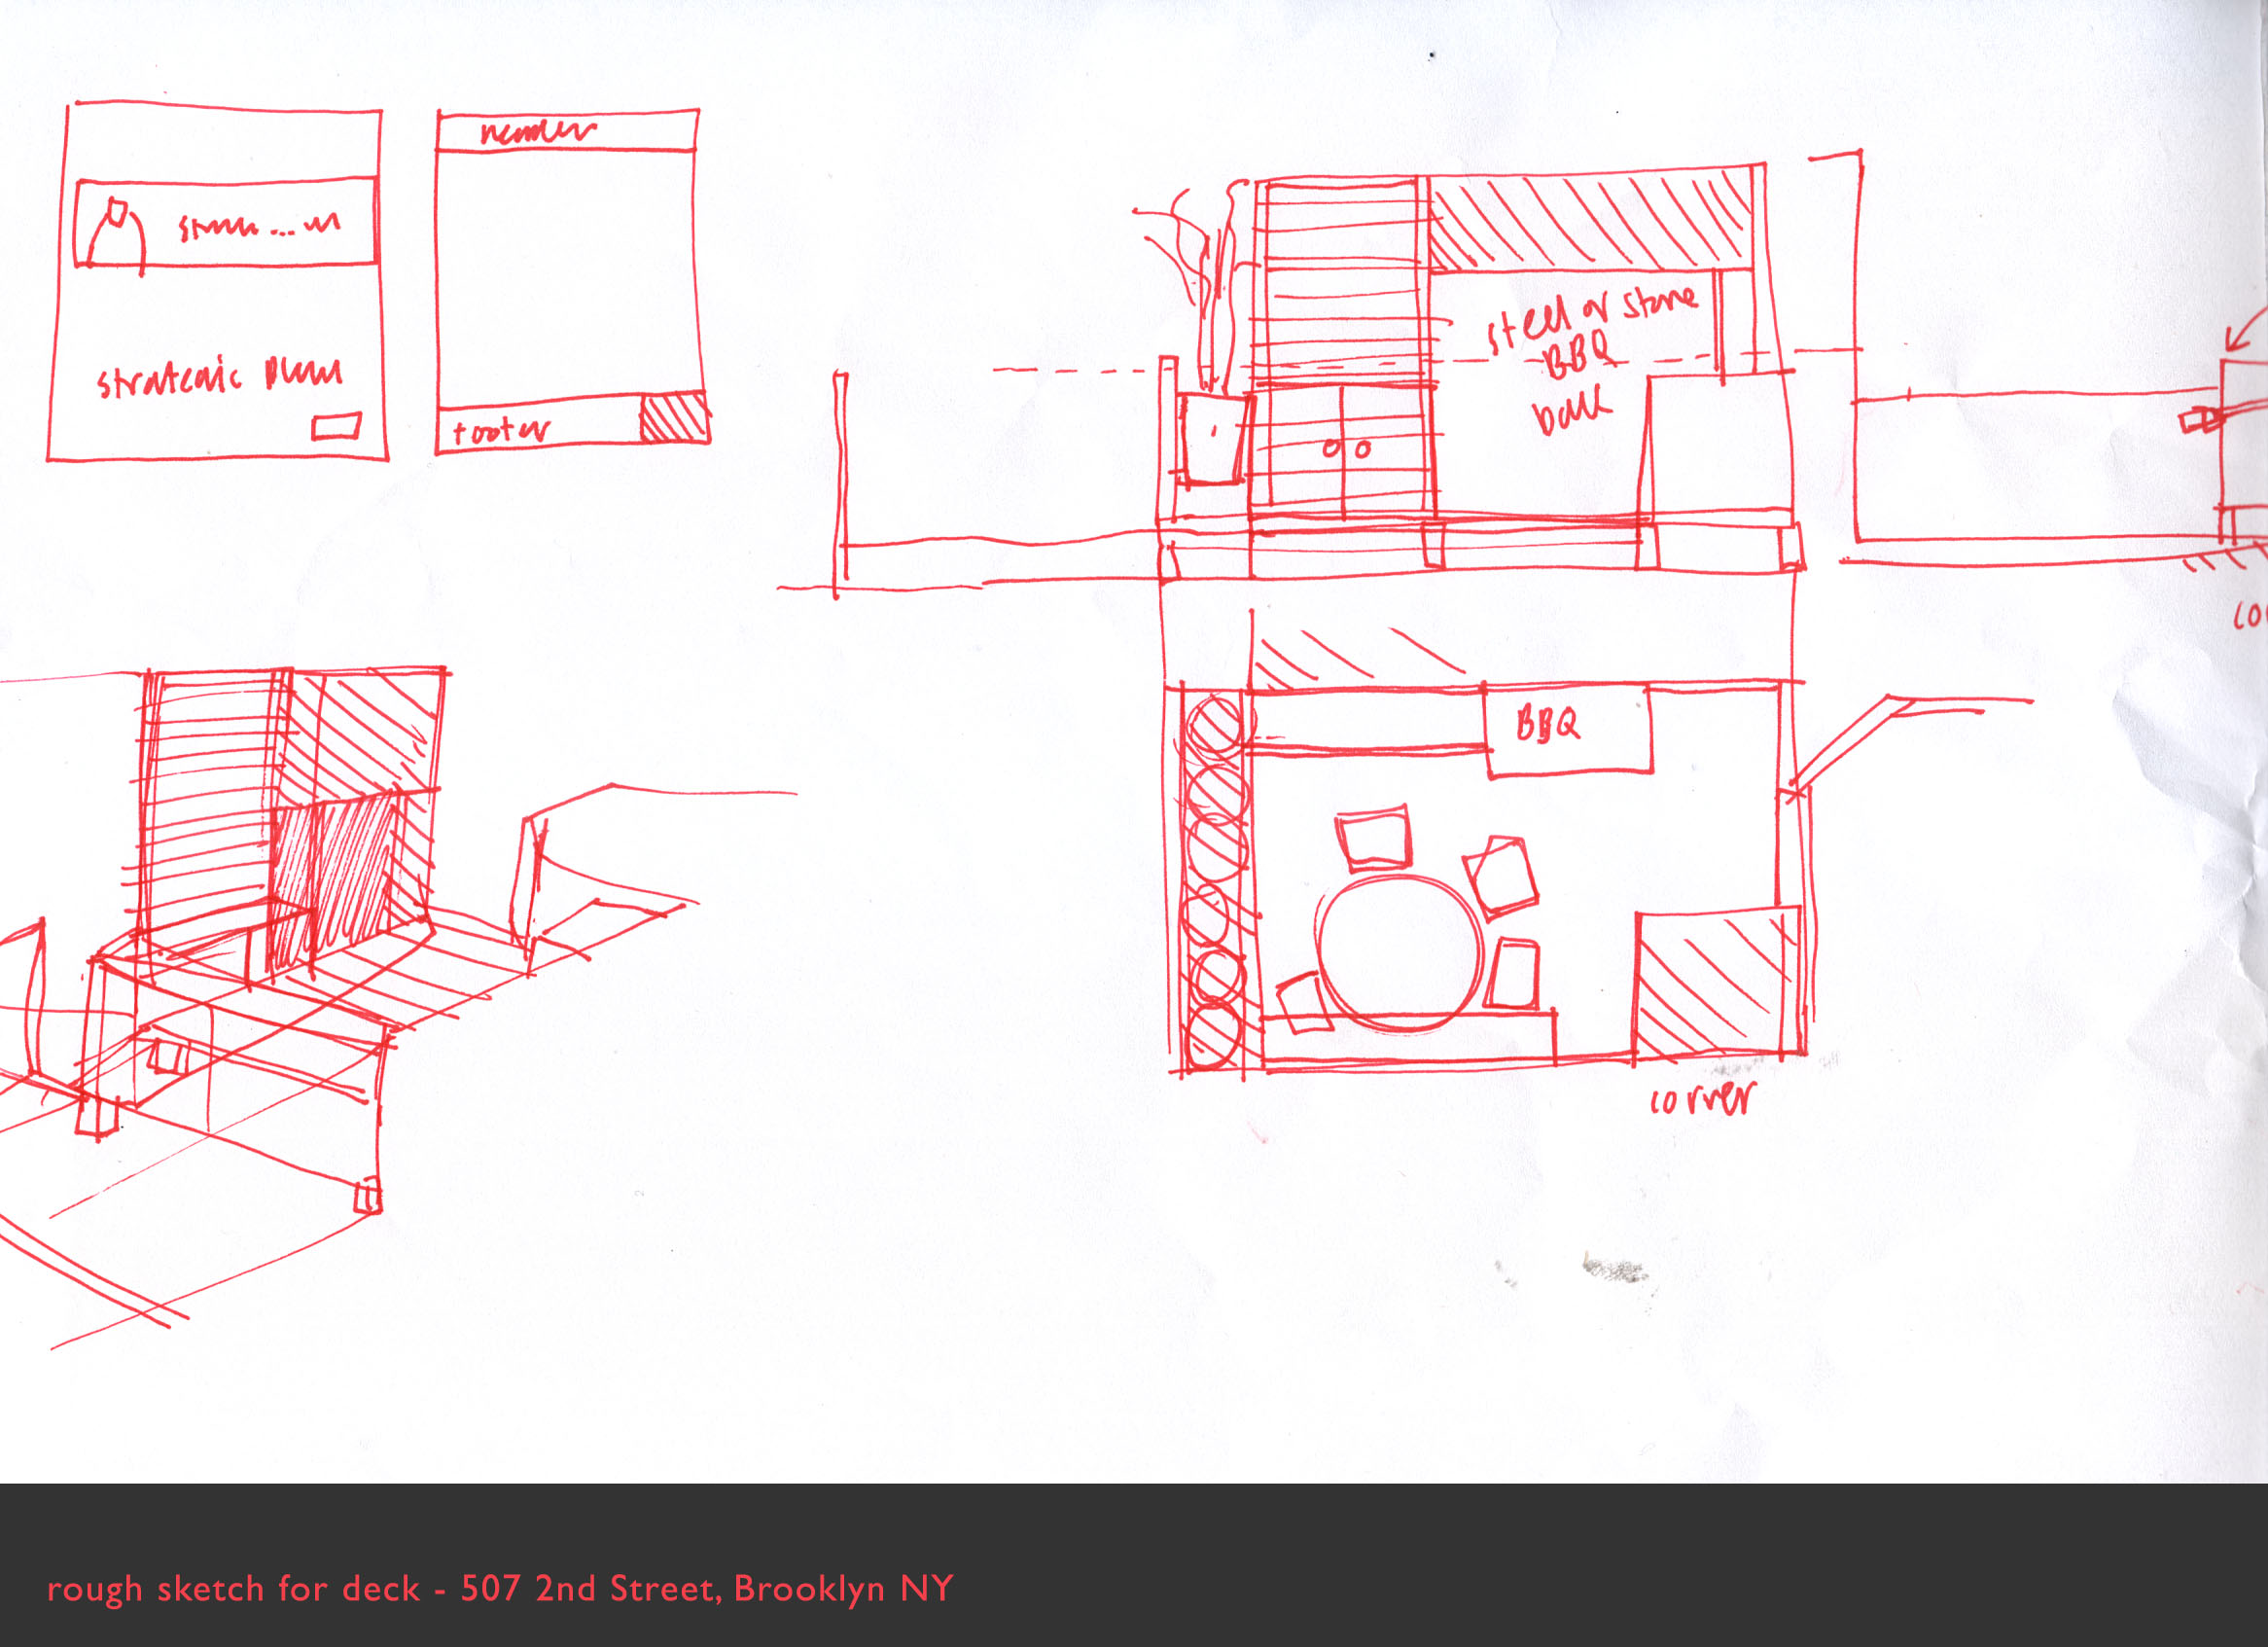
Deck Requirements: 1 Only a NYS Registered Architect or Professional Engineer may design a Deck or porch. The Department of Buildings must approve the plans and issue a permit before any work begins. 2 Decks must be located at or below the floor level of the first story of a house. 3 A Deck may project up to eight feet (8’) beyond the face of the building into the required thirty foot (30’) rear yard. 4 There shall be no useable building or storage space underneath the Deck. 4 There must be at least three feet (3’) between the Deck and the SIDE or REAR LOT LINE, unless the Deck is constructed of non-combustible materials, such as steel, in which case it may be closer to the Property Lines. 5 All Decks must have a railing at least 42 inches high. 6 Spaces between railings and/or posts can be no greater than five inches. 7 Elevated Decks must be braced at the columns and where the beams and columns connect. 8 Decks must be able to withstand a minimum of 40 pounds per square foot plus the weight of the Deck. This is the same live load required as for the building itself. Thus, a Deck will usually require a structure as robust as that of the main house’s floor construction, rather than the flimsy, under-structured wood Decks that are commonly seen. 9 Decks must be properly anchored to a house or building. Nailing Decks instead of using proper anchors is a common mistake that often leads to accidents and can cause serious injuries. 10 A homeowner may construct a Deck, but is not allowed to perform plumbing or electrical work. If you use a contractor, the contractor must have a Home Improvement Contractor’s License.
Have a Deck question? E-mail Permitadvisor
Roof Ideas
Ventilation Basics
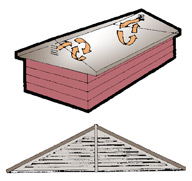
FIG. 1 - Gable vents are common in older homes; unfortunately, they are often inadequate because air flow is limited inside the attic.
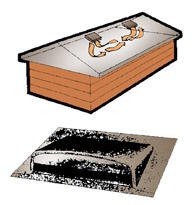
FIG. 2 - Roof line or eyebrow vents provide reasonably good ventilation–as long as you have enough of them.
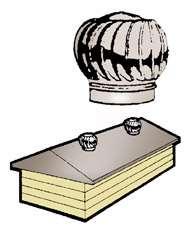
FIG. 3 - Turbine vents draw air out of the attic when spun by the wind. They can be very effective, but their effectiveness is reduced when the wind isn't blowing.
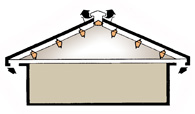
FIG. 4 - A fan-driven power ventilator works well but consumes some of the energy you save in reduced air conditioner use.
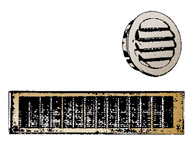
FIG. 5 - Any ventilation system depends on intake vents installed in the soffit to draw fresh air into the attic.
FIG. 6 - Most experts agree that the most effective attic ventilation system consists of intake vents spaced regularly along the soffit and a ridge vent running the length of the roof. This creates an even wash of air along the entire underside of the roof sheathing.

VENTILATION BASICS
- Proper attic ventilation is an important part of a healthy home–both for the structure and its occupants. This document explains how attic ventilation protects a home from moisture and how to install vents that will keep your home in good condition.
- There are a wide variety of sources of moisture in a home, from the building materials themselves to normal everyday activities. Cooking, bathing and washing clothes all release gallons of water vapor into the air, for example.
- That vapor isn't a problem inside the average home because the temperature inside the home is warmer than outside for much of the year. Warm air holds more moisture–in the form of water vapor–than cool air.
- The problem is that vapor gradually works its way out of the living area and into the structure. As warm, moist air cools, the vapor begins to condense into water droplets. If that happens inside an unfinished attic, for example, it can get insulation and framing materials wet. That not only reduces the value of your insulation but can cause mold, mildew and rot.
- During the summer, when the outside temperature is typically much higher than the inside temperature, attic ventilation serves a different purpose. An unfinished attic builds up a tremendous amount of heat, and if that heated air has no place to escape, it can make the inside of the house much warmer or cause an air conditioning system to work much harder to cool the house.
- Building codes specify the minimum amount of attic ventilation needed in a new home to prevent winter moisture buildup, but your summer needs are much greater. Also, older homes were often built with inadequate attic ventilation–at least by today's standards–and may need to be retrofitted with proper attic ventilation.
- A good attic ventilation system is designed for summer needs. It includes two types of vents: intake vents are placed along the soffit to allow fresh air into the attic, and exhaust vents are installed in the upper third of the roof to allow attic air to escape. The object is to create a continuous "wash" of air along the underside of the roof sheathing. The rule of thumb in the summer is that you should provide enough ventilation to completely change the air in your attic every six minutes.
- There are three common types of intake vents:
- Gable vents (Fig. 1) are triangular vents installed in the gable wall just below the peak of the roof. As a rule, gable vents are the least effective type of vent, because air circulates only near the gables and does not wash the entire roof.
- Static vents, also known as roof line or eyebrow vents, consist of a sheet metal cylinder with a flashing collar and a metal hood to keep rain out. They are installed in rows along the face of the roof by cutting holes in the roof, nailing the flashing collars to the roof sheathing and shingling around the vents. Their effectiveness depends on how many are installed; probably their greatest disadvantage is that like any roof penetration, they may leak.
- Soffit vents are made usually with a screen to keep insects out and of an aluminum panel with louvers punched into the face to allow air flow. They may be 4" or 8" wide and 14" or 22" long, so they'll fit between 16" and 24" on center rafters. They are installed simply by cutting rectangular holes in the soffit and screwing the vent over the hole.
- A continuous soffit vent is of similar construction, 4" wide and 96" long. It is installed by cutting a long slot in the soffit and screwing the vent over the hole.
- Circular vents range from 1" to 8" in diameter. They are installed by drilling holes in the soffit and pressing the vent into the hole.
- Exhaust vents fall into two basic categories. Static vents simply allow air to escape while power ventilators actively suck air out of the attic. Within each category there are a number of types:
- Ridge vents are installed along the peak of the roof and replace the ridge singles.
- Power Ventilators are turbine vents that consist of a turbine mounted on a sheet metal cylinder. They are installed like roof line vents along the face of the roof. When the wind blows, it spins the turbine, which in turn draws air up out of the attic. Their effectiveness, naturally, depends on whether the wind is blowing or not.
- Fan-driven ventilators are powered by electricity and usually controlled by a thermostat in the attic. They are very effective, but since they are motor-driven, the extra cost of running them partially offsets the energy they conserve.
- Most builders agree that a ridge vent system is the most effective as well as the most cost-effective.
- The number of vents you'll need depends on the type and size of the vents. Vents are rated according to their square inches of "free vent area" (FVA)–in other words, the amount of open space in the vent. You can't just measure the size of the vent to find the FVA because the open space is reduced by louvers and by the screen mesh that covers the opening.
- Most manufacturers provide both FVA ratings and ventilation recommendations for their products. In order to estimate, you'll need to know the total square footage of your attic and possibly the slope of your roof. To find the square footage of your attic, multiply the width of your house by the length.
- Roof slope is expressed as a ratio–for example, a 5:12 slope means that the roof rises 5" vertically for every 12" of horizontal distance. To find the approximate slope of your roof, go into the attic and measure the vertical distance from the peak of the attic ceiling to the ceiling joists in feet (e.g., a 75" measurement would be 6-1/4').
- Multiply that measurement by 24, then divide the result by the width of your house (also in feet). The answer is the first half of your slope ratio. For example, say your house is 30' wide, and the peak-to-ceiling-joist measurement is 75" (6-1/4'):
6-1/4 x 24 = 150
150 divided by 30 = 5
Your slope is approximately 5:12
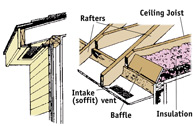
FIG. 7 - Install baffles to keep loose fill insulation from spilling onto intake vents and blocking them.
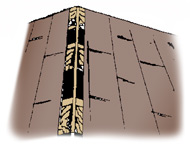
FIG. 8 - To install a ridge vent, first remove the ridge shingles and cut away the sheathing so the ridge is open.
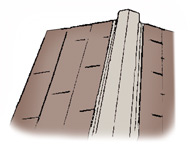
FIG. 9 - Cover the open ridge with the ridge vent, fastened according to the manufacturer's instructions.

INSTALLING ATTIC VENTS
- Installing attic vents in an existing roof is a relatively simple job that most do-it-yourselfers can handle. Remember to follow basic safety procedures when working on the roof:
- Wear loose clothing and rubber-soled shoes with good ankle support.
- Only work on the roof in dry, calm weather.
- Be alert for slippery or loose shingles or rotten decking that you might put a foot through.
- Avoid power lines and TV antennas.
- Keep children and pets away from the area so they aren't hurt if something falls off the roof.
- Your extension ladder should be angled so the base is away from the wall a distance equal to 1/4 of the ladder's length plus the width of the soffit.
- Intake Vents (Fig. 7)–To install intake vents, set your circular saw blade to a depth about 1/8" greater than the thickness of the soffit (soffit materials are usually 1/4" thick). Lay out the location of the vent between the rafters, then cut the hole with the circular saw. Screw the vent to the soffit, covering the hole.
- If you have fiberglass blanket insulation in your attic, make sure the blankets are positioned so they cover the top of the exterior wall but still allow at least a 1" space between the top of the insulation and the underside of the roof sheathing. Otherwise, the insulation will block the air flow and your soffit vents will be useless.
- If you have loose fill insulation in your attic, you'll need to install baffles in each rafter cavity that contains a soffit vent to keep the air space clear.
- Roof Line/Turbine Vents–To install roof line or turbine vents, first locate the vent between two rafters. Use a utility knife to cut away the shingles and felt paper, then use a saber saw to cut a hole in the roof the same size as the throat of the vent.
- Butter the inside of the vent base with plastic roof cement, then slip the base into position over the hole. The top of the flashing should be slipped under the shingles above the hole and lap over them below the hole. Nail the base in place with 1-1/2" galvanized roofing nails and cover the nail heads with roof cement.
- If you're installing a turbine vent, slip the turbine onto the base and level it. Fasten the turbine in place with sheet metal screws.
- Gable Vent–To install a gable vent, cut away the siding and sheathing with a circular saw. Be careful not to cut too deeply into the gable studs. Caulk the rim of the gable vent, then set it over the hole and fasten it in place with screws.
- Ridge Vent–To install a ridge vent, first remove the ridge shingles as specified by the vent manufacturer–usually to within 6" of the end of the ridge or a foot from a chimney or roof intersection. Cut away the felt paper with a utility knife and pull out all staples and roofing nails (Fig. 8).
- Snap a chalk line along the roof sheathing on either side of the ridge; the manufacturer's instructions will tell you how far from the peak the line should be. Set your circular saw blade to a depth slightly thicker than the sheathing, then cut away the sheathing along the line. Remove the cut pieces of sheathing and any nails that remain.
- Install the ridge vent over the peak (Fig. 9). You can start the vent at the end of the roof or the beginning of the slot, whichever the manufacturer recommends. Different ridge vent systems use different methods of making the vent weathertight; follow the manufacturer's instructions.
Outdoor Roofing


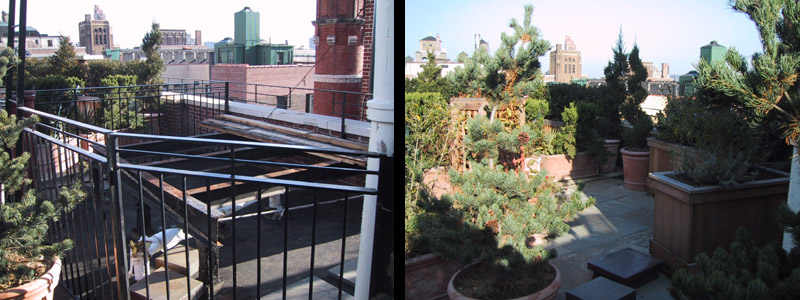
Roof Studio

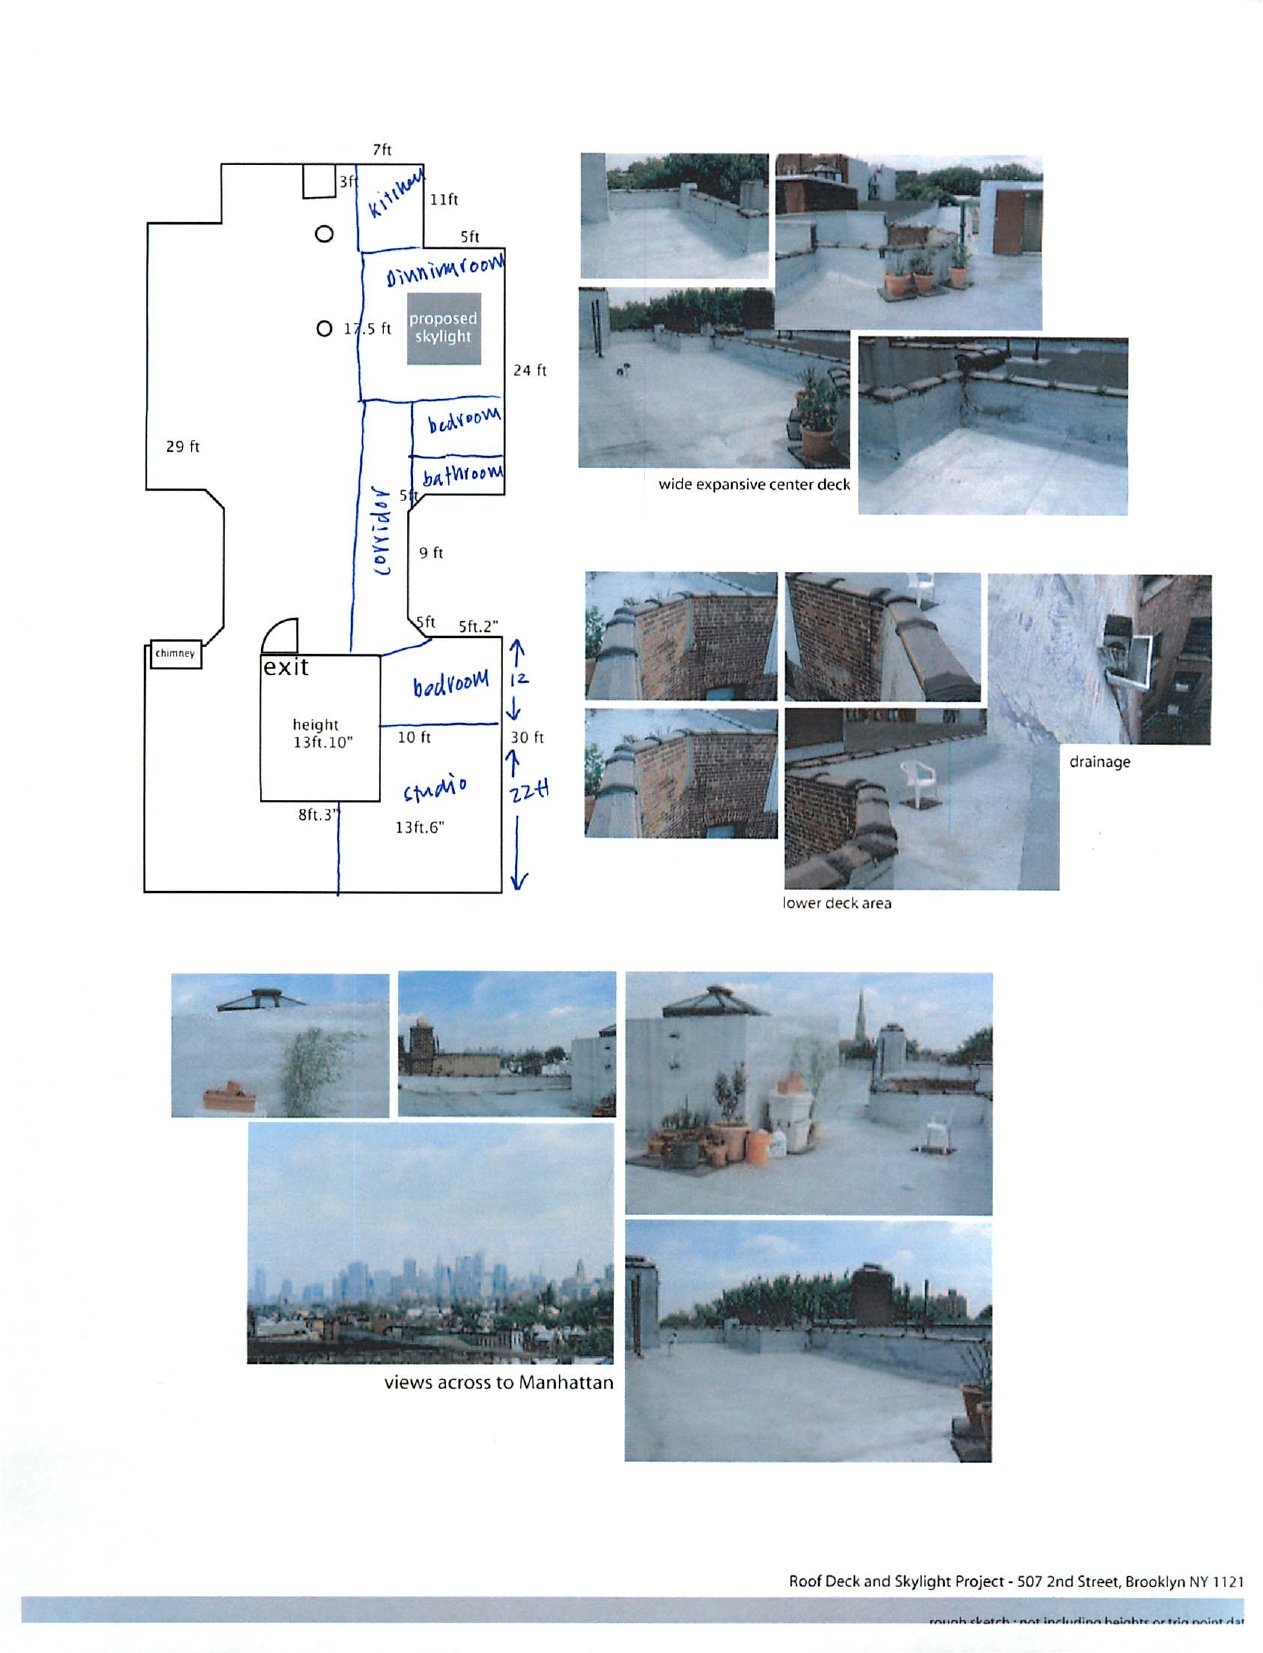
Plans for Roof Deck
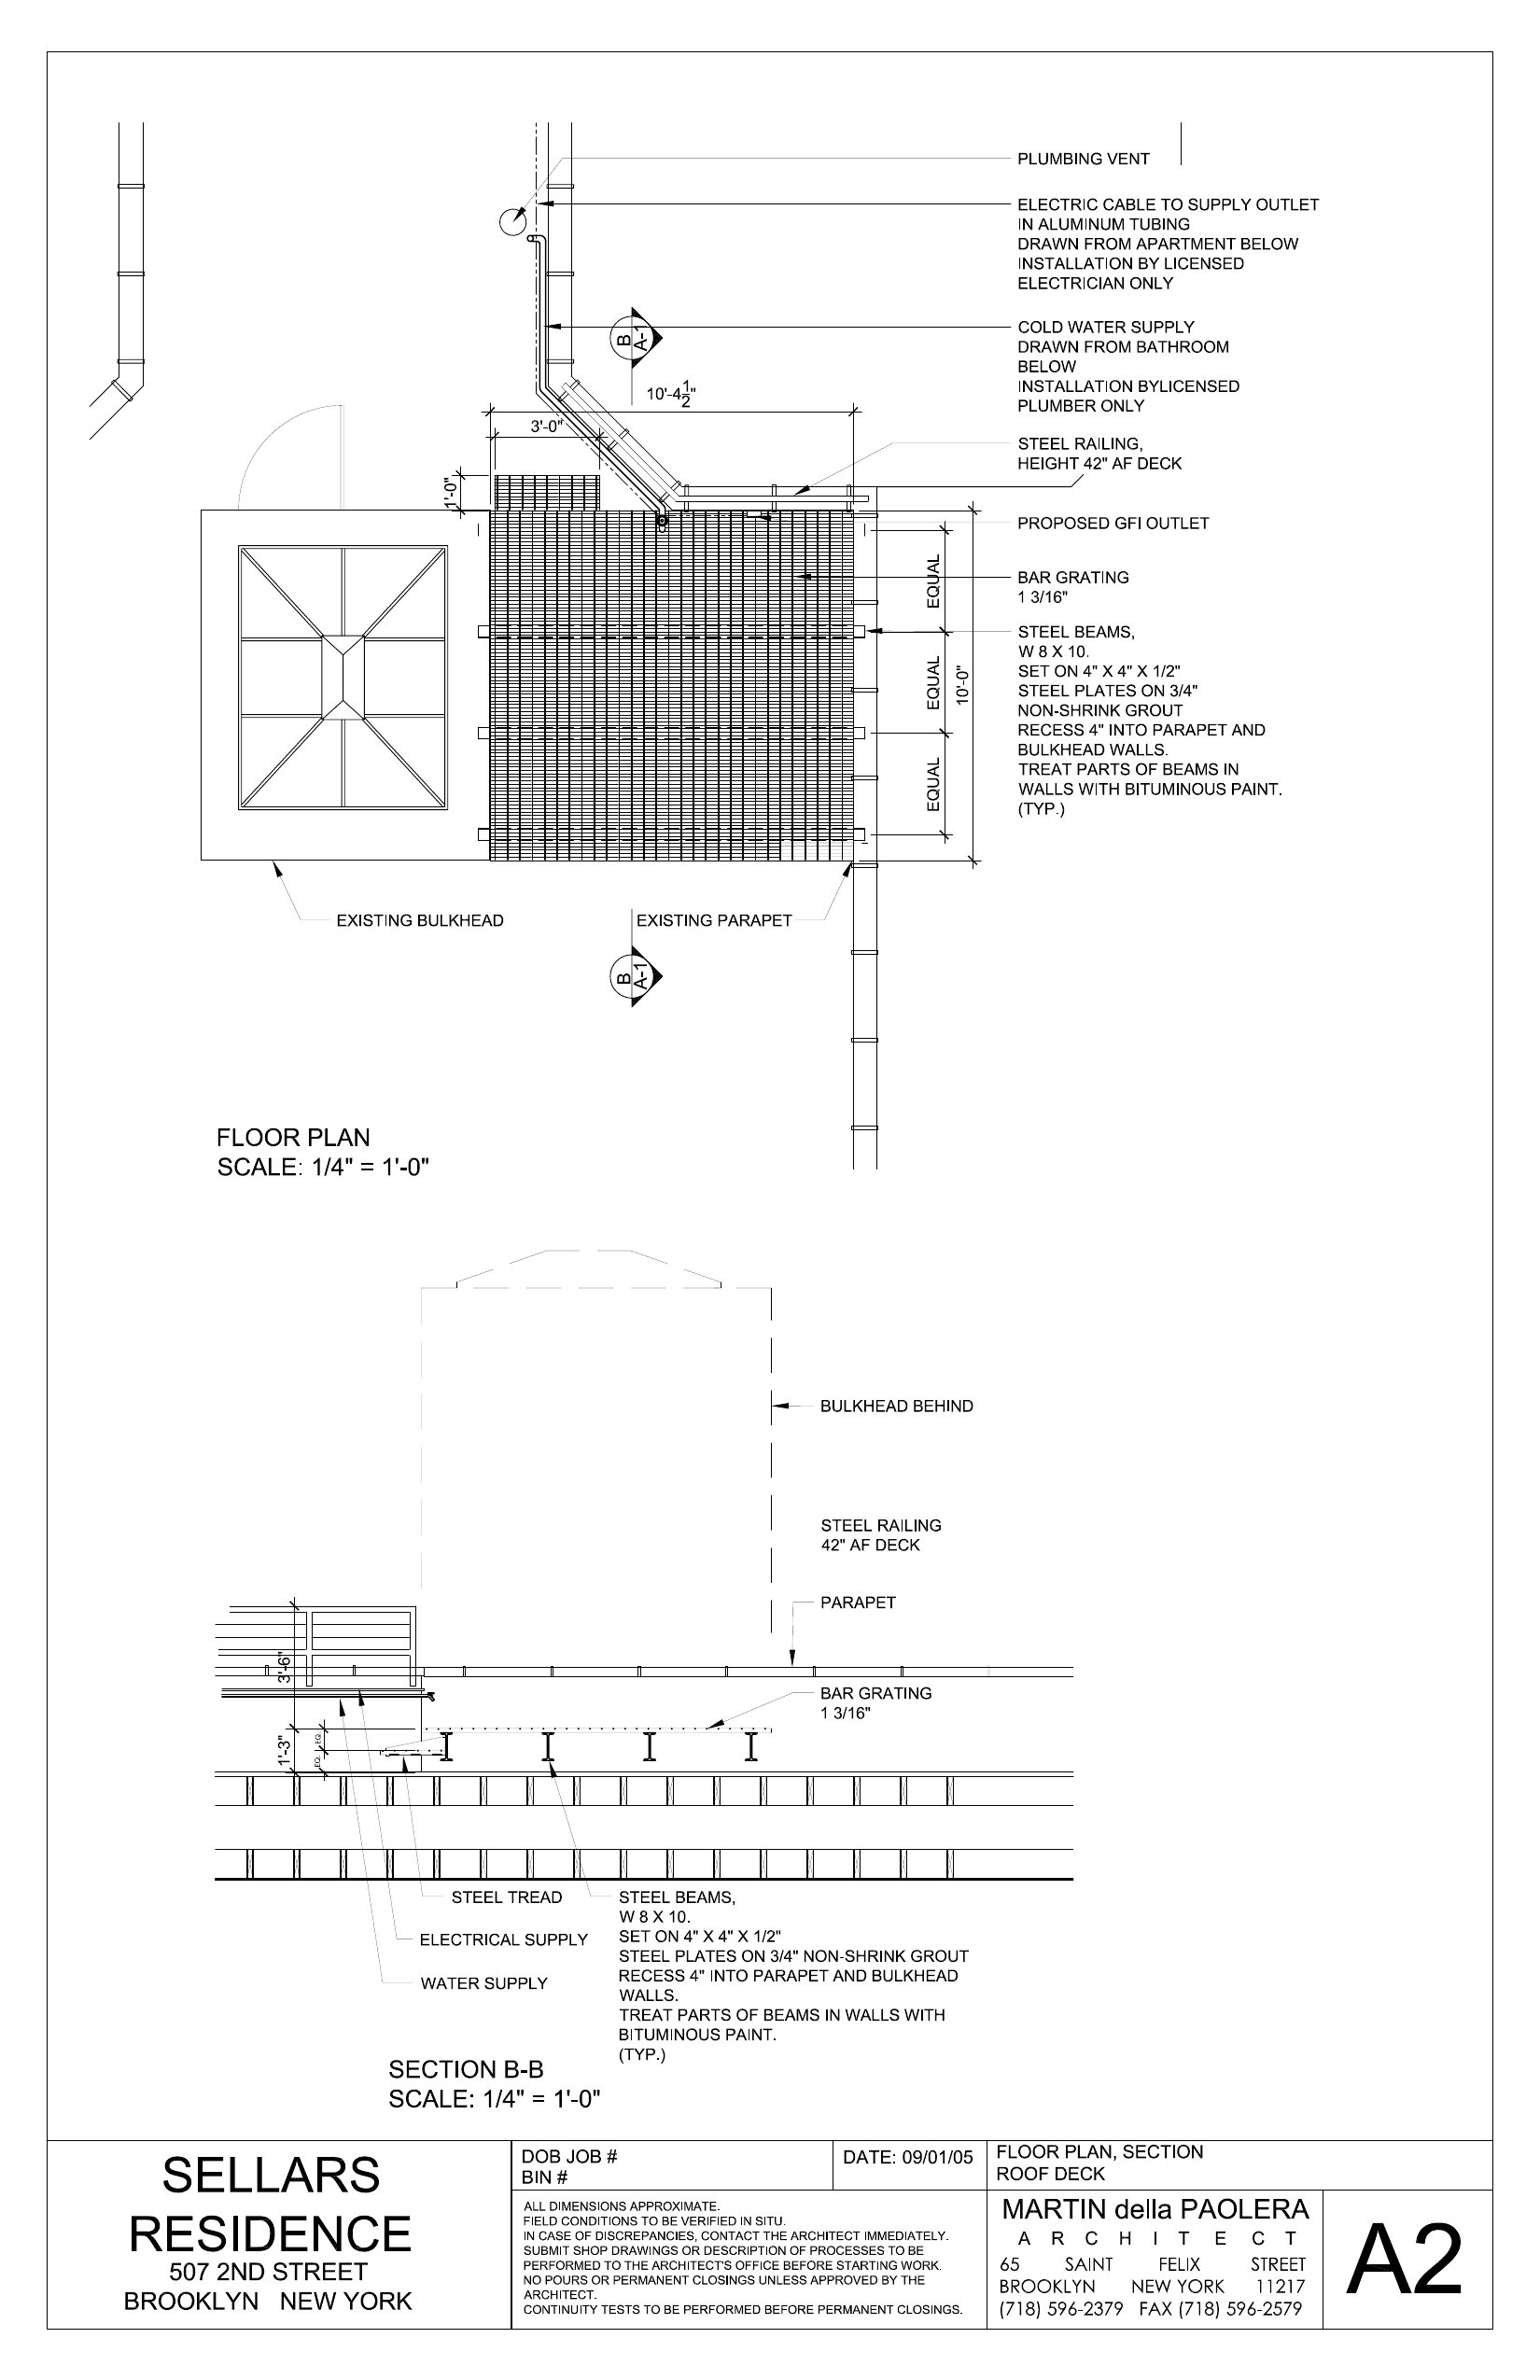
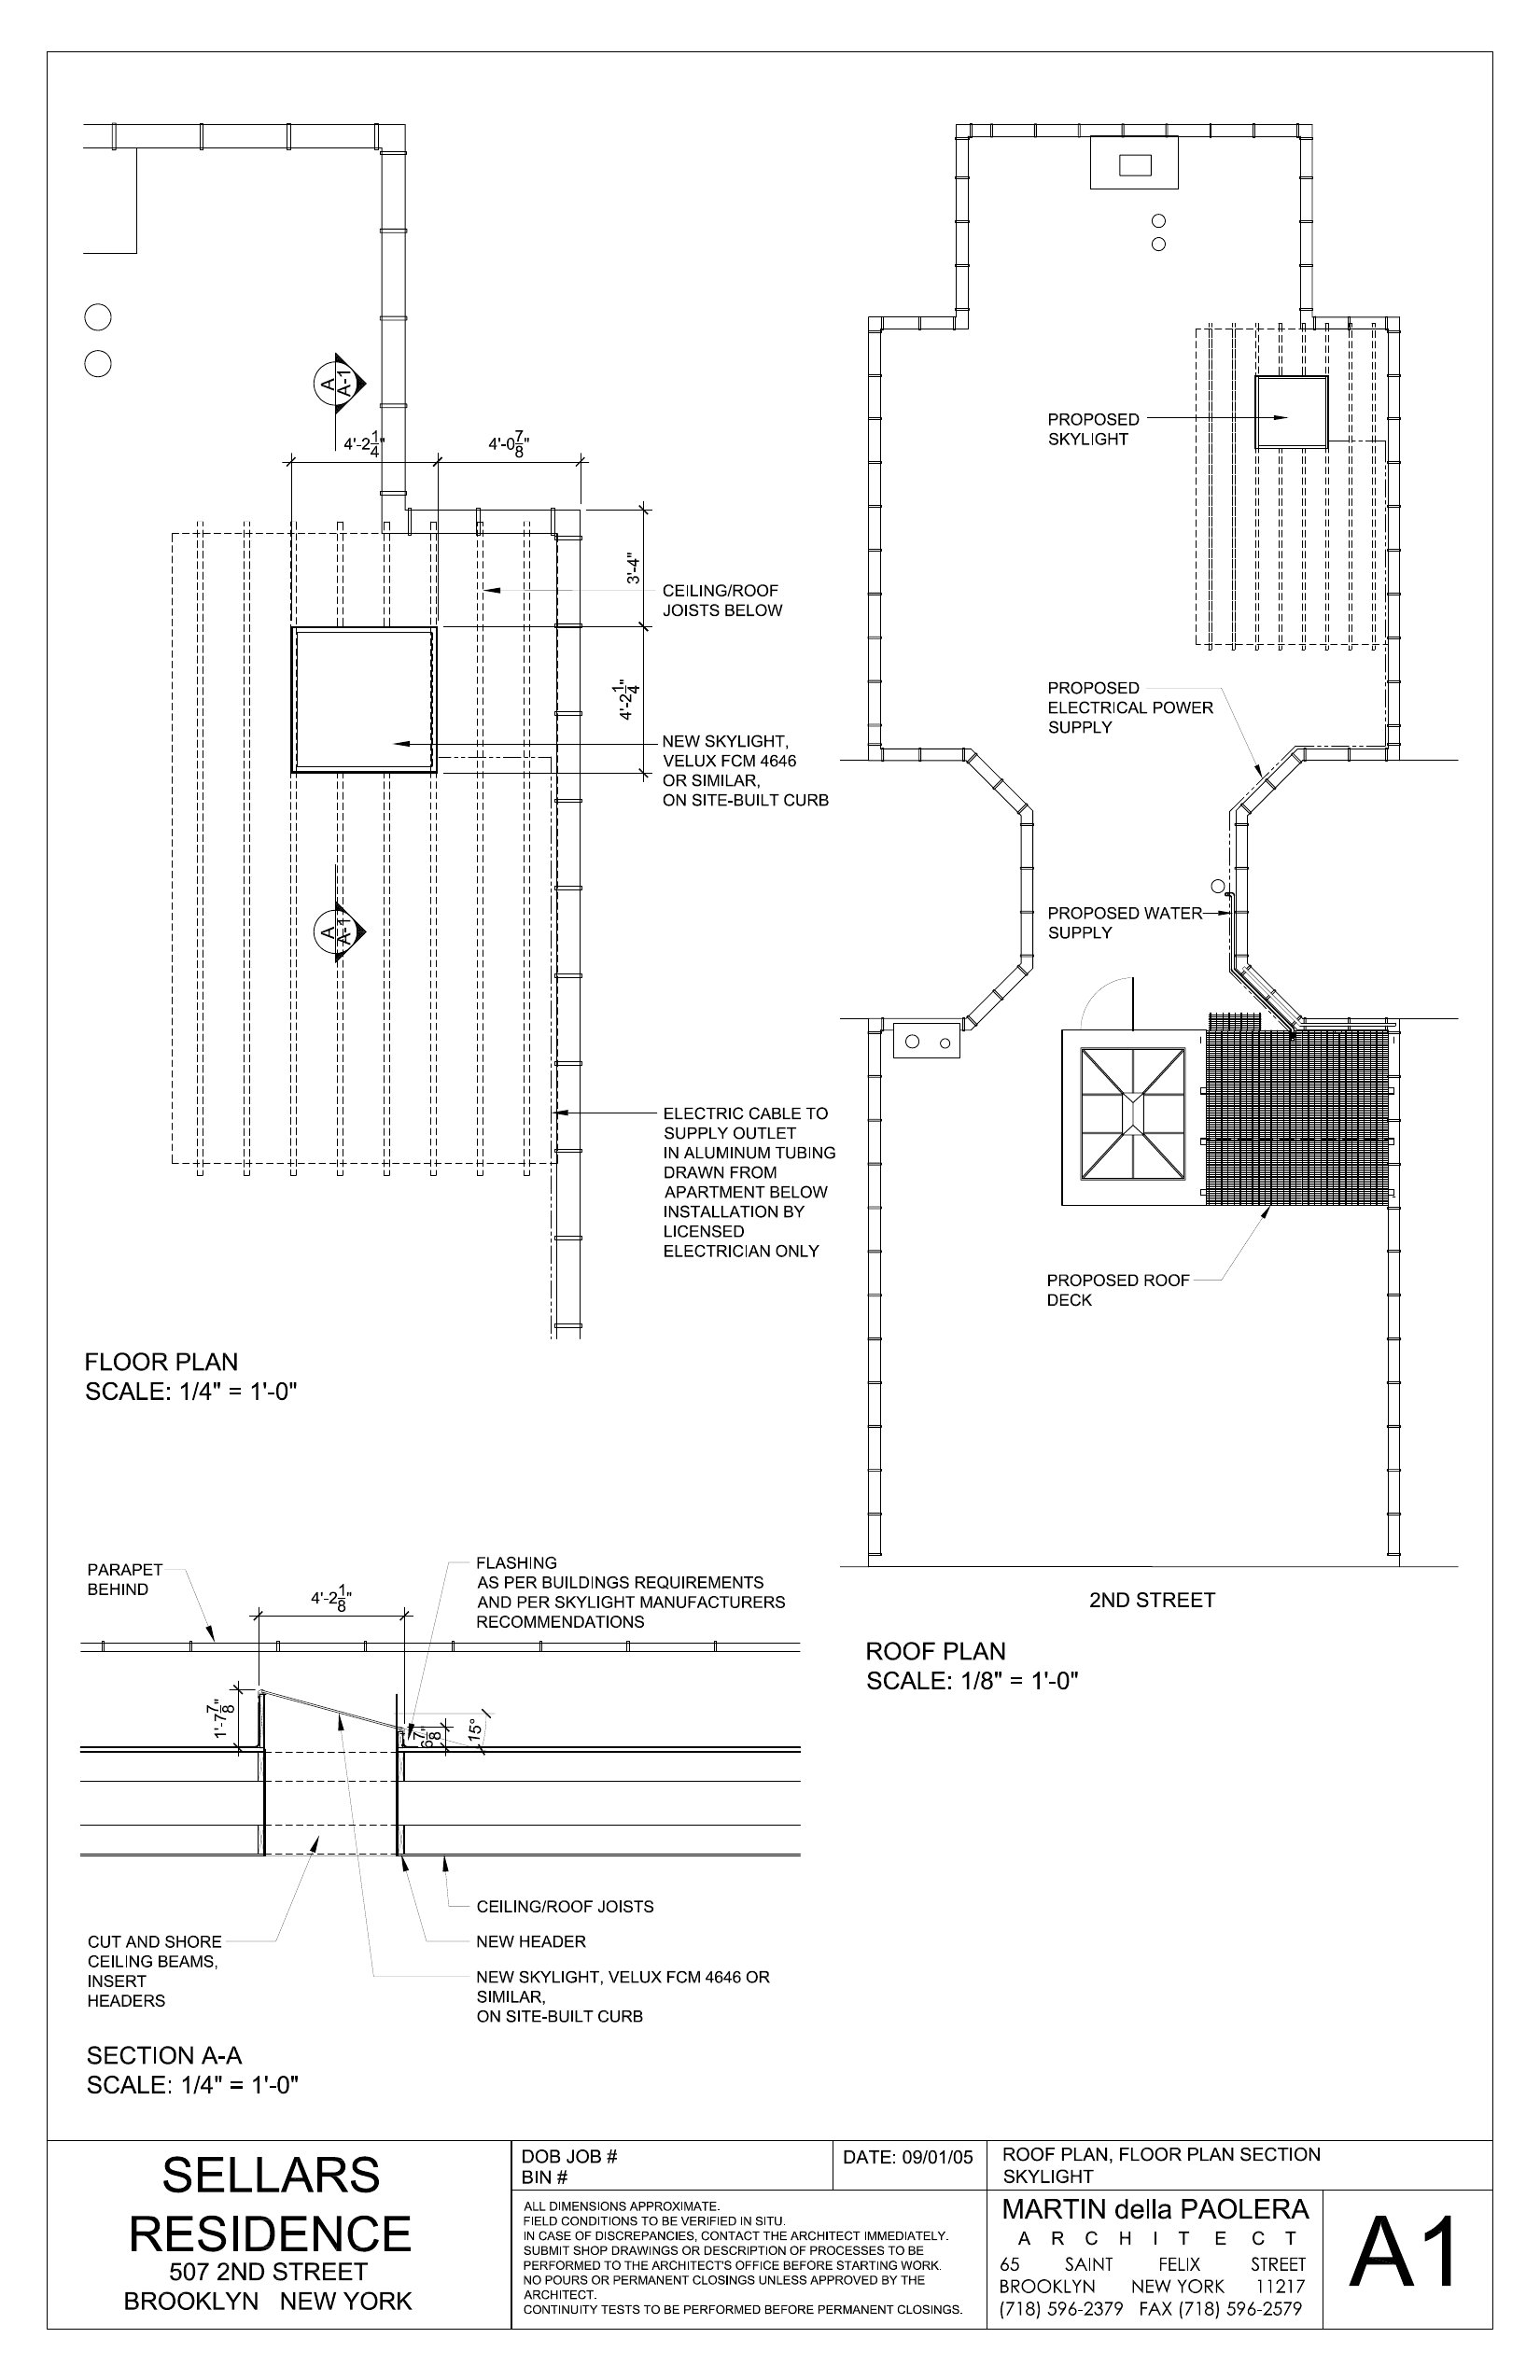
roof/steel bars
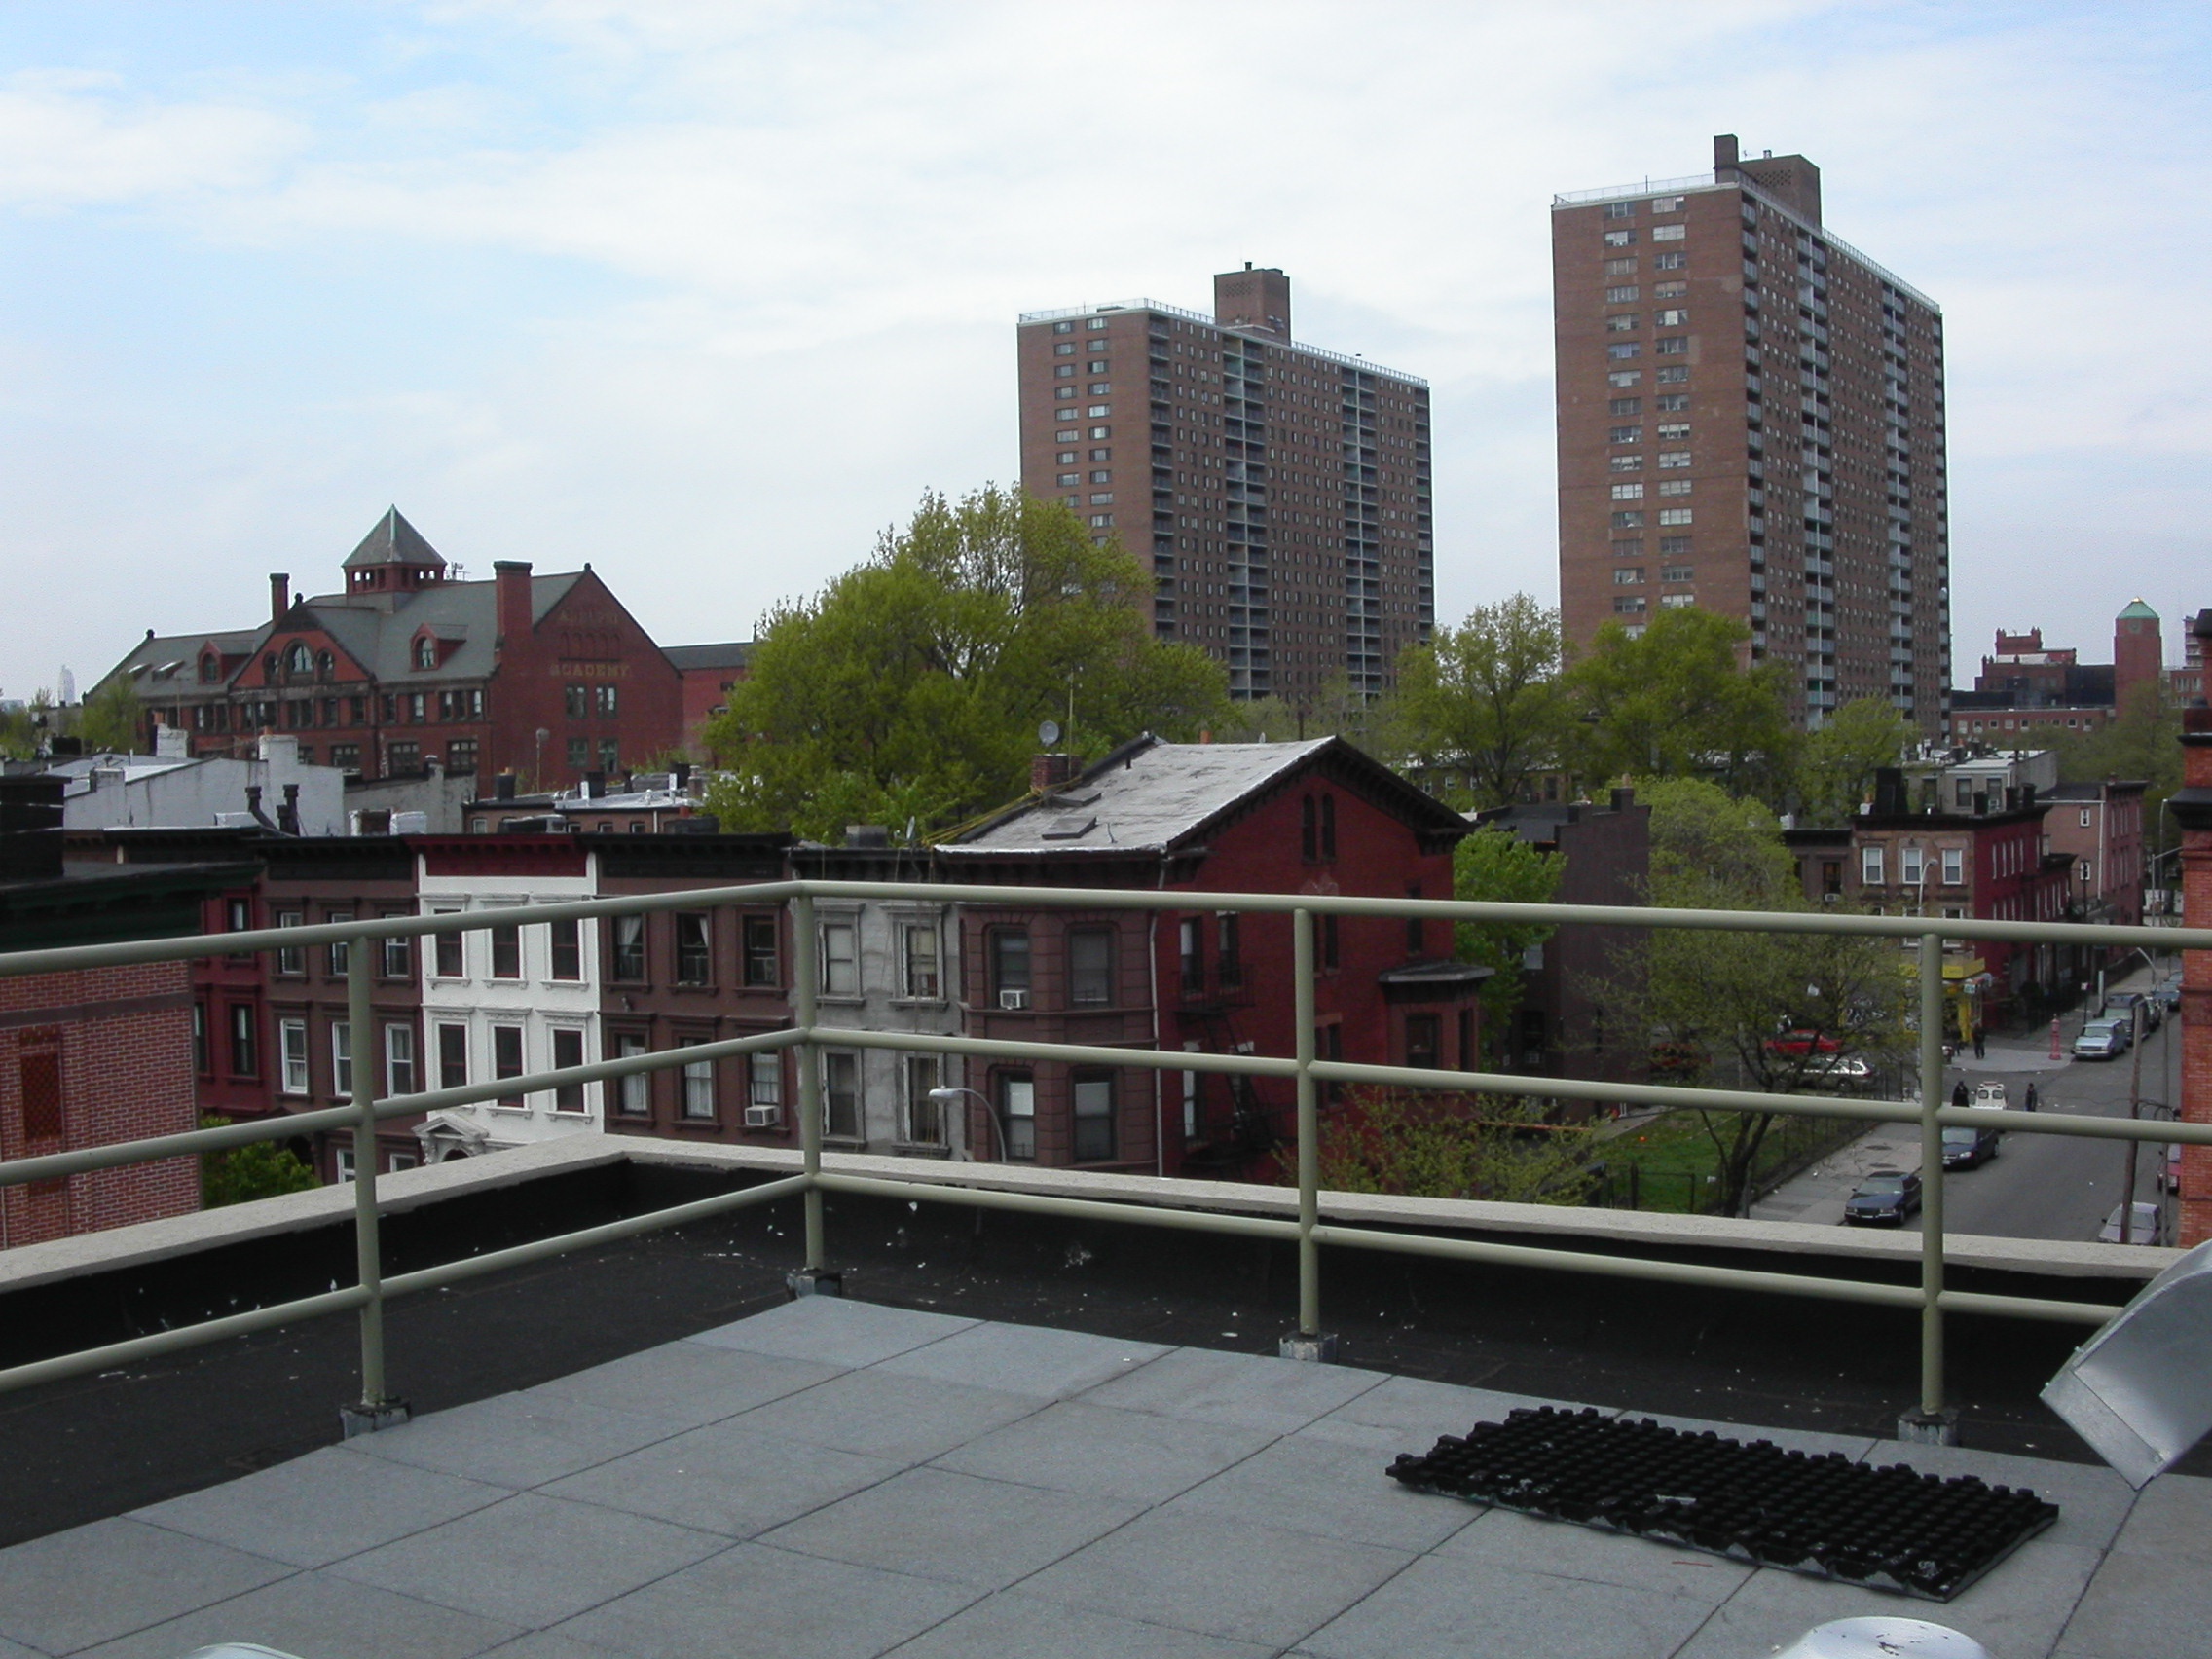
Roof


SpacePak

Attic Fans

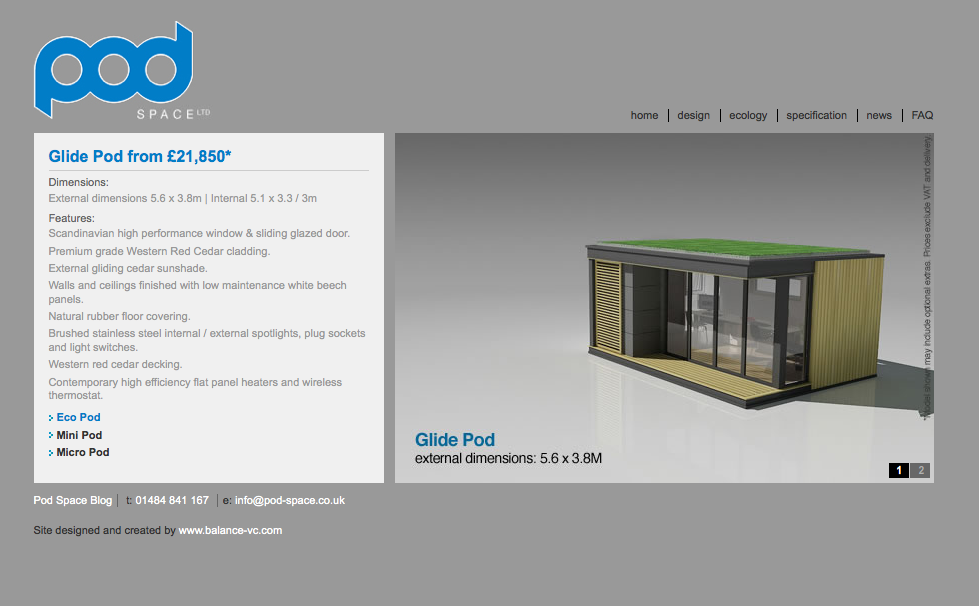
5.6 x 3.8M Pod for roof
Structural Engineers
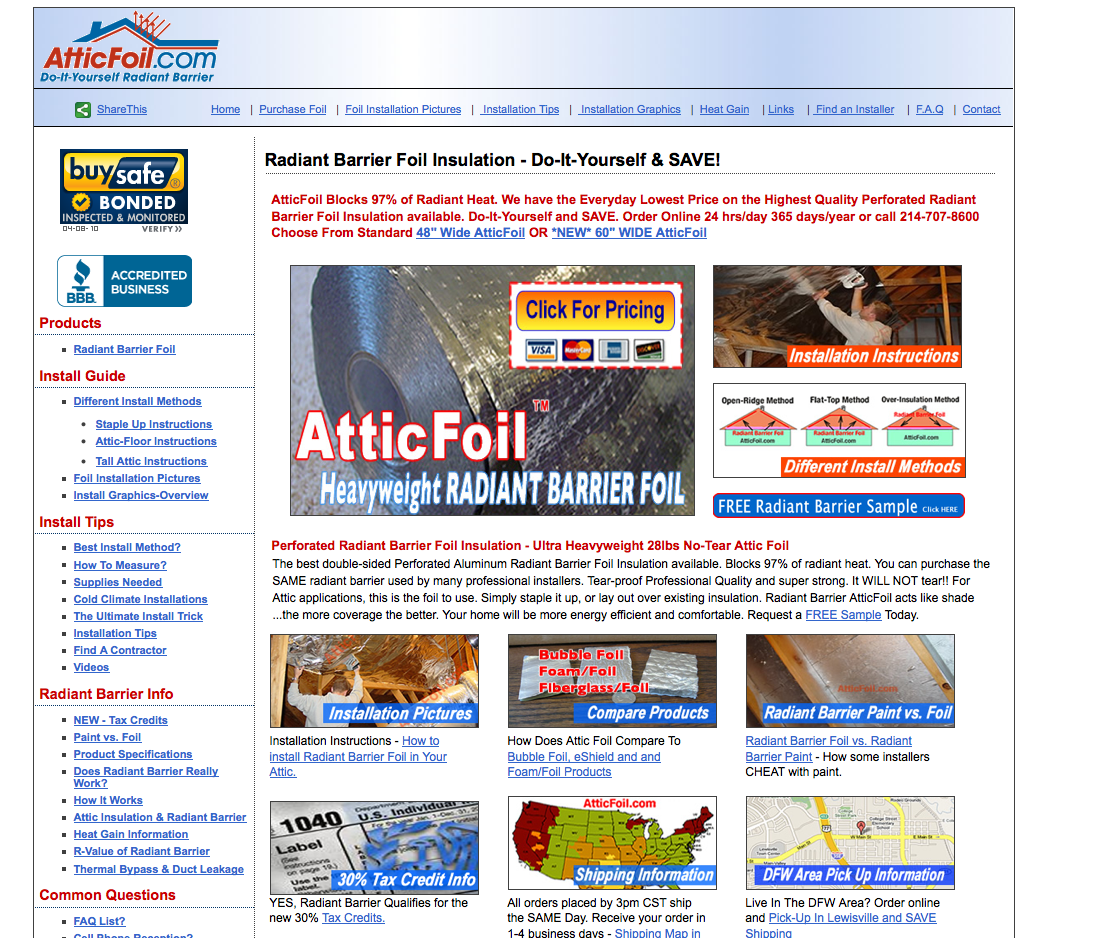
Radiant Barrier Foil Insulation
Attic Breeze
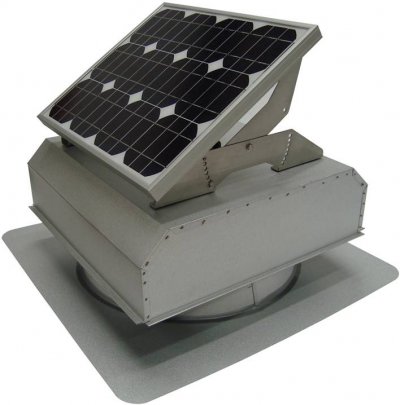
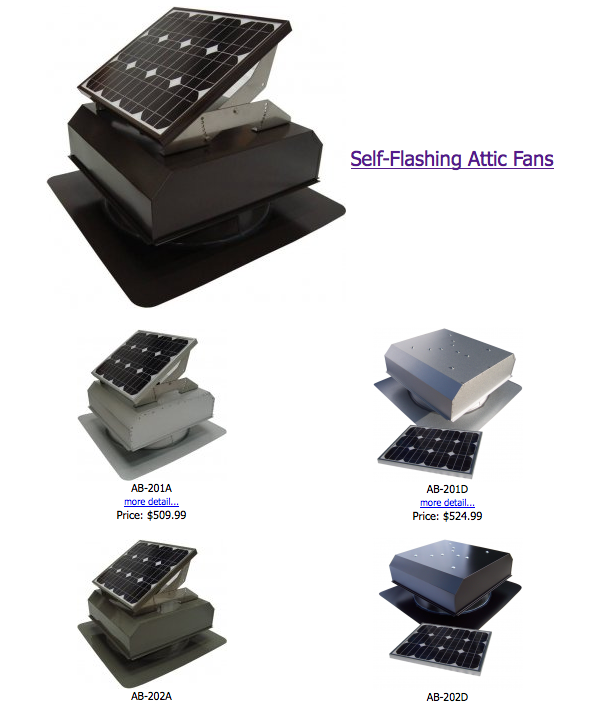
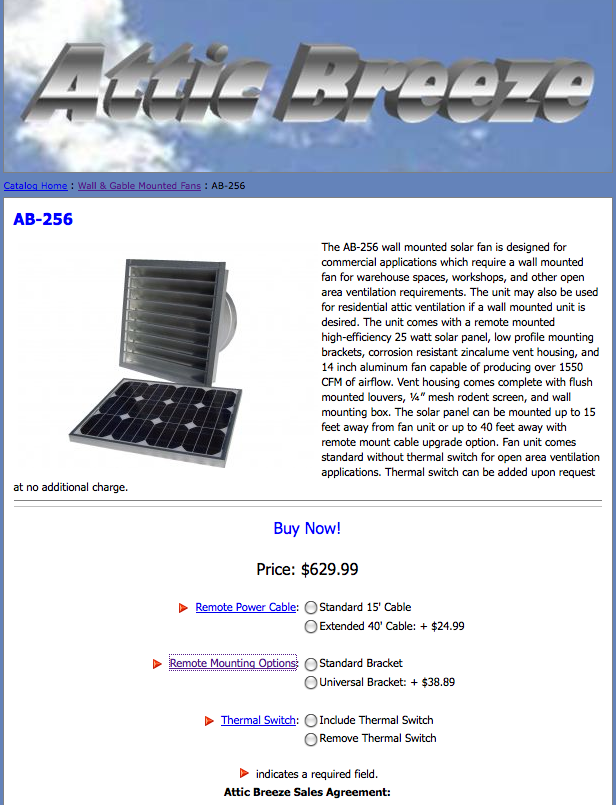


Lowes - April 2010 - $37.58

Roof Deck Windows

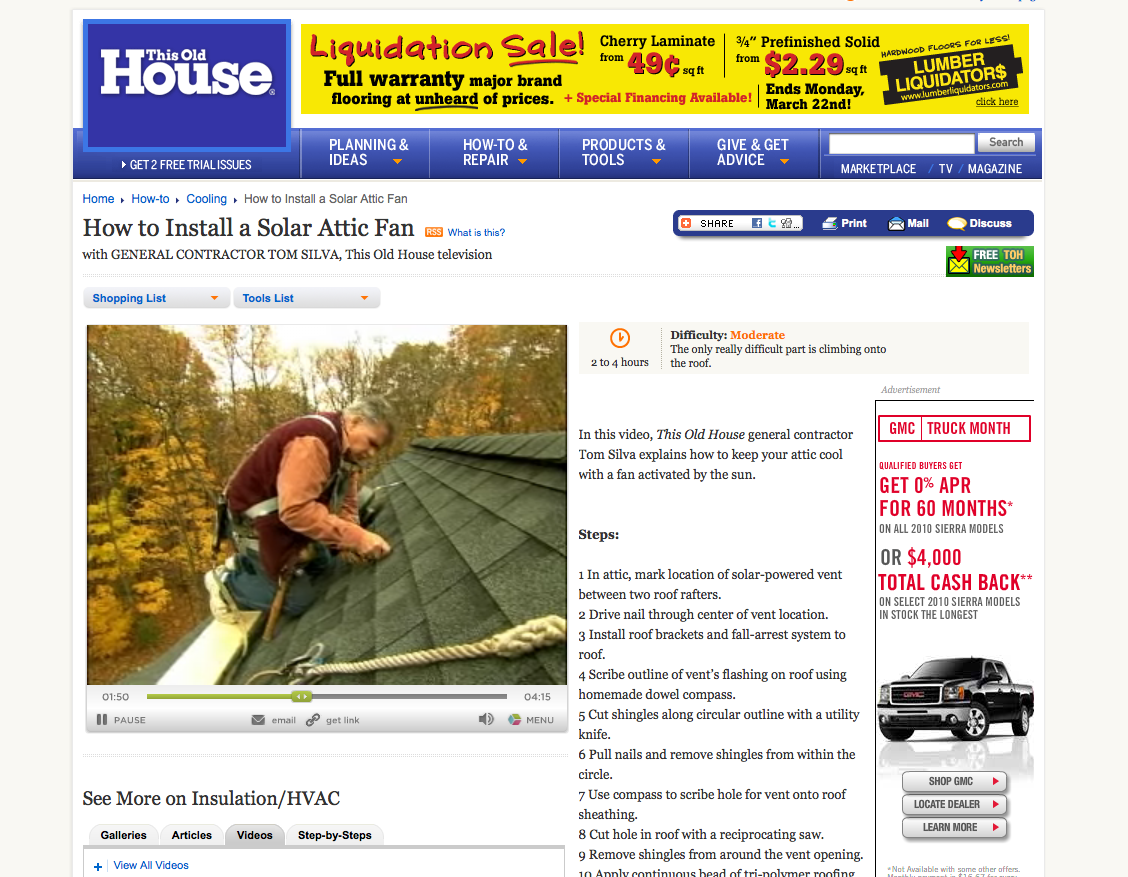
Solar Attic Fan
PreFab
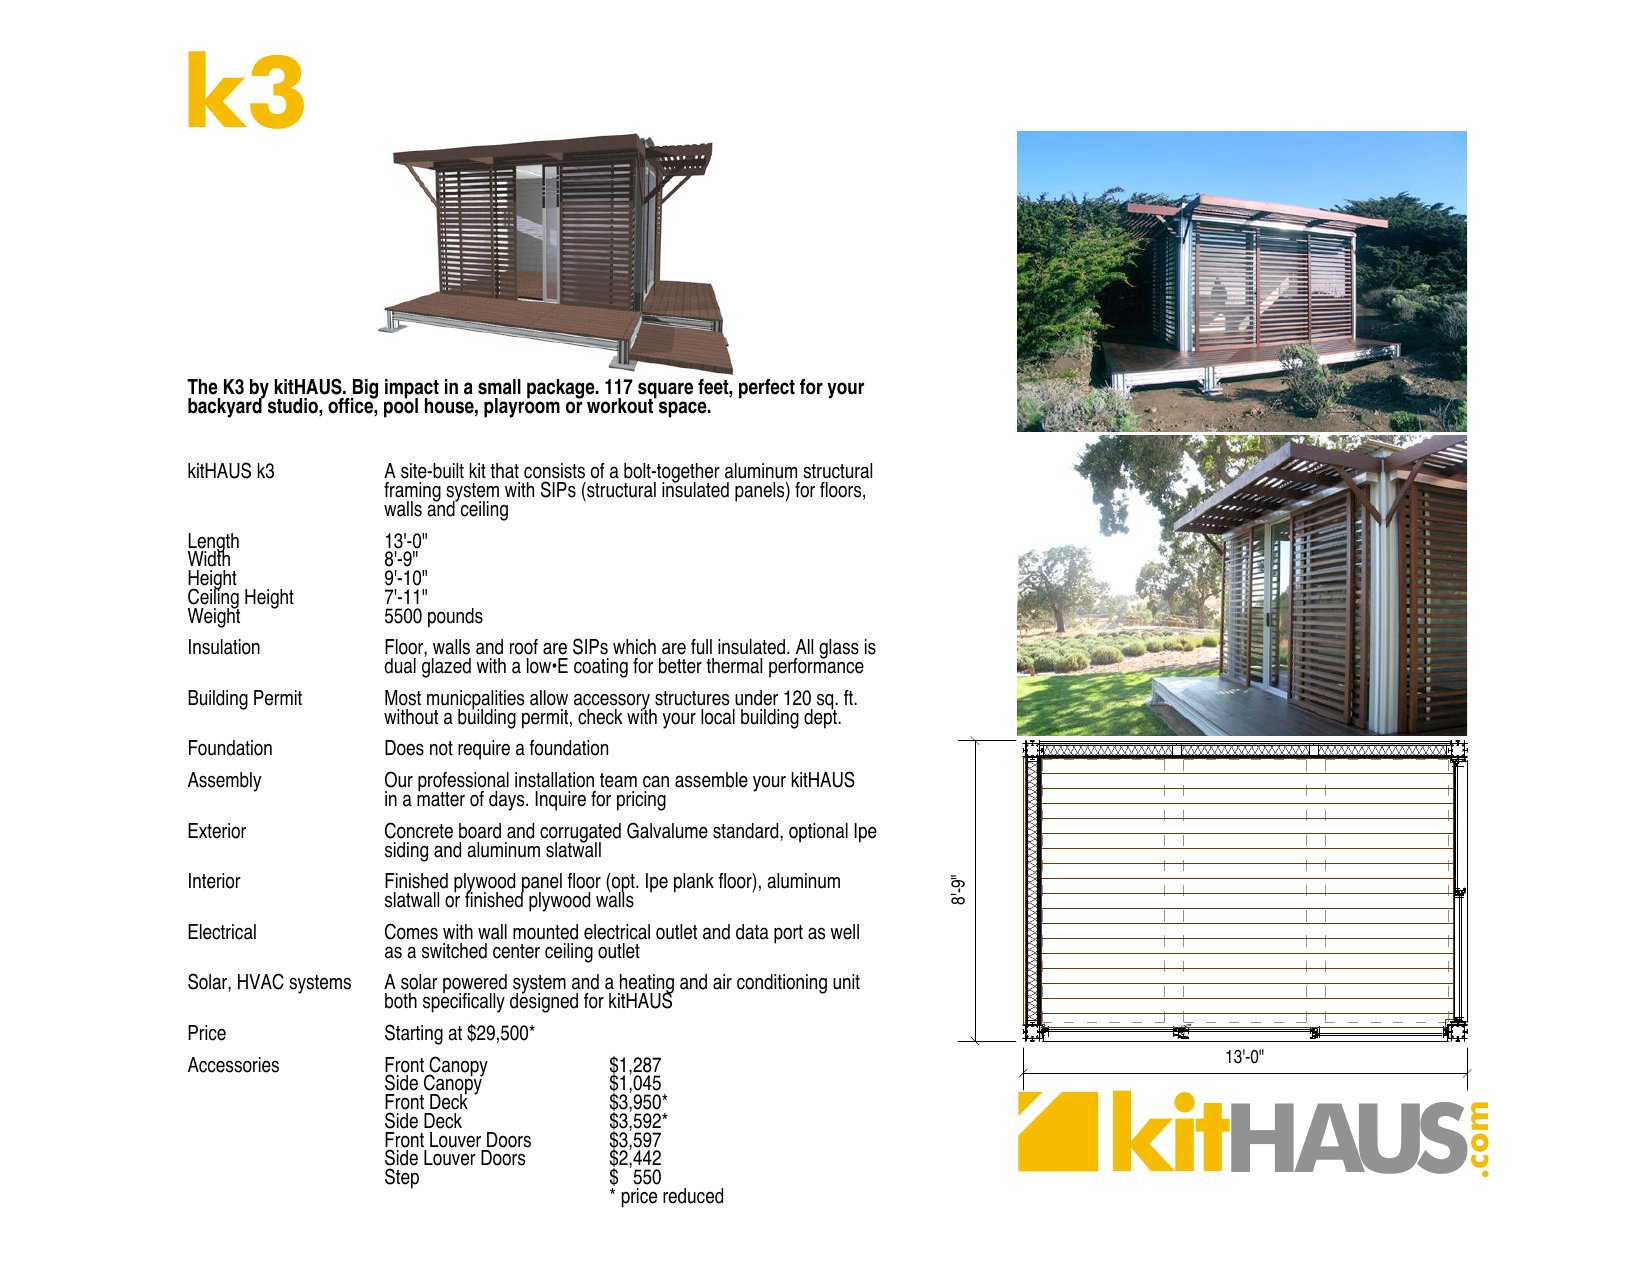
Green Roof Links
http://www.seeds2yous.com/servlet/the-1853/Oriental-Chinese-Broccoli-Kailan/Detail
http://www.agreenroof.com/page22a.html
http://www.gardenzone.info/crops/index.php?crop=chbroccoli
Roof Garden

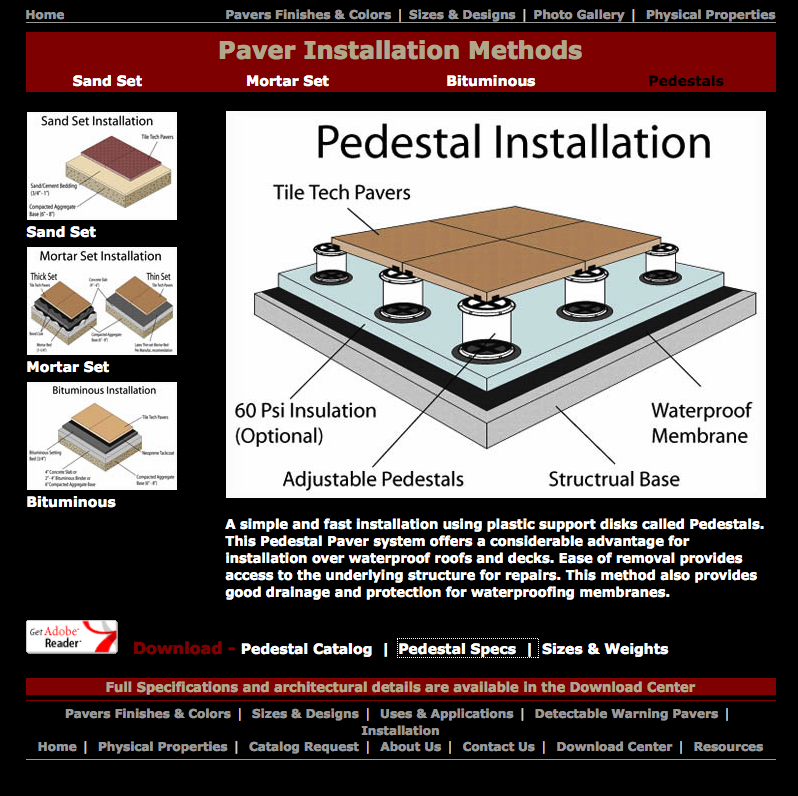
Roof Deck Pavers
Roof Deck and Solarium

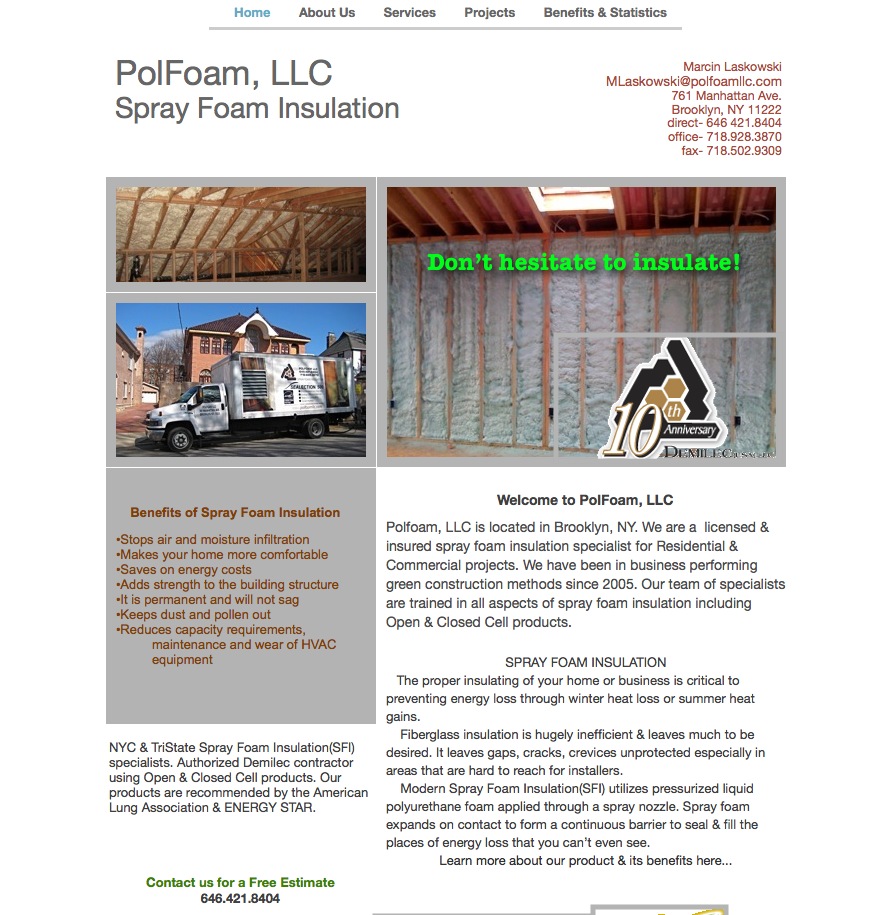
PolyFoam Spay Foam Insulation
Roof Deck Playbook 2009
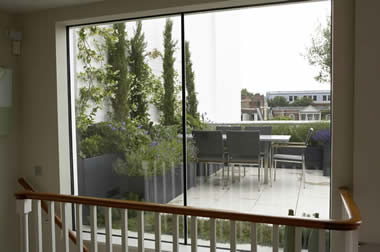

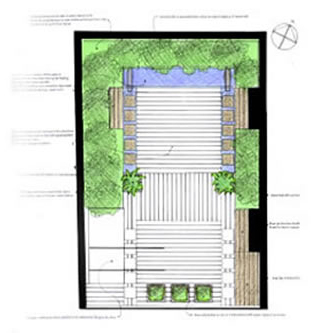

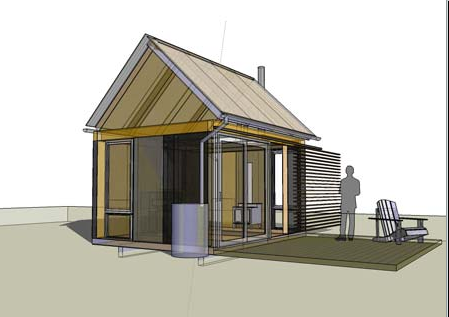
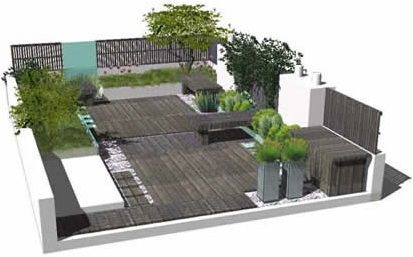
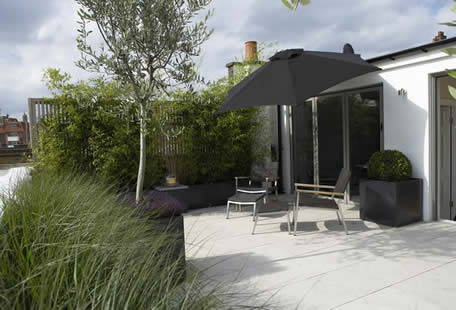

Roof Deck Official Plans
roofdeck